
If your PC feels heavy for no reason, boots slow, or idles like it is quietly mining crypto, you are probably dealing with bloatware. Not malware, not failing hardware, just a pile of background junk you never asked for.
This guide shows you how to disable bloatware on Windows safely, in one controlled sweep, without breaking anything or reinstalling your system. Cleaning up background processes helps, but you should also understand why games load slowly on weak PCs to fix the root cause.
What Counts as Bloatware on Windows
Bloatware is anything preinstalled or running in the background that adds clutter, consumes resources, or nags you without improving your experience. It usually falls into three categories, and knowing the difference helps you avoid removing something important. Something to consider is that not all system issues come from Windows itself. If you regularly connect your phone, you may want to remove rootkit from Android as part of a full cleanup process.
- OEM junk: trial antivirus, branded tools, vendor “assistants.”
- Unused Microsoft apps: apps you never open but still sit in memory.
- Background extras: startup apps and silent services running 24/7.
Important: some Windows components look useless but are actually core system services. We are not touching those. Background apps don’t just slow Windows down, they can also cause games to degrade over time, especially with limited RAM: game using too much RAM.
Why Bloatware Hurts Gaming Performance
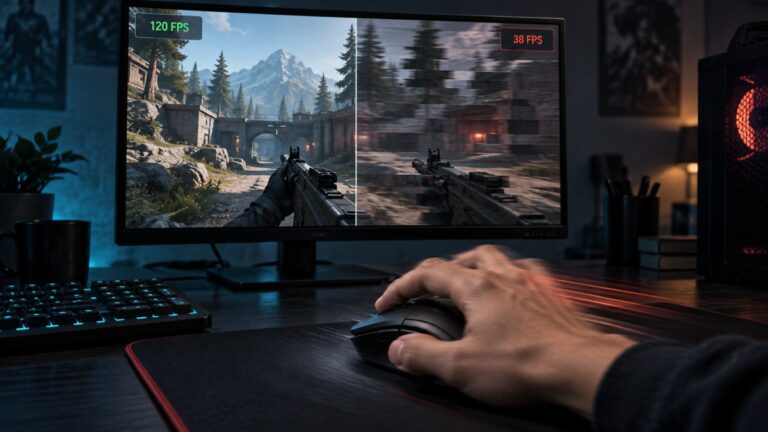
Bloatware does not usually nuke your FPS directly. What it does is worse, it creates constant background noise that interferes with consistent performance.
If you’re not sure whether background software is affecting your gaming PC, work through our Complete Gaming PC Health Check. It shows you how to identify resource-hungry startup apps, background processes, memory usage, CPU utilization, and other hidden issues that quietly steal gaming performance.
- Higher idle CPU usage: background processes constantly waking up
- RAM pressure: especially noticeable on 8GB and 16GB systems
- Disk activity spikes: causes hitching and micro-stutter
- Frametime inconsistency: the real reason games feel “off”
If you are already seeing stutter, start here, then go deeper with low-end stutter causes or high-end stutter issues. Background apps can interfere with gaming performance and even cause sound glitches. If your audio crackles while playing, see our guide on fixing audio crackling in games.
Disable Bloatware: The One-Sweep Strategy
We are not doing random “one-click optimizer” nonsense. This is controlled, safe, and reversible. Think of it as cleaning your system properly instead of smashing things and hoping for FPS.
- Remove obvious junk using Windows settings
- Disable background behavior that keeps apps alive
- Bulk remove safe apps using PowerShell
Done right, your PC feels lighter, boots faster, and stops multitasking when you are trying to game. If removing bloatware helped but your system still feels rough, here’s why your PC can still feel slow after reinstalling Windows.
Pre-Flight Checklist (Do This First)
This takes two minutes and saves you from breaking something important. Do not skip it.
- Create a restore point: Official Microsoft guide
- Restart your PC: avoid removing apps mid-update
If Windows is already unstable, fix that first: fix update loops and driver issues.
Method 1: Built-in Windows Cleanup (No Scripts)
This is the safest method and handles most of the problem for the average user. If your system is only mildly bloated, this might be enough.

1) Uninstall Obvious Junk
Go to Settings and remove anything you do not use. Focus on vendor apps and trial software.
2) Clean Startup Apps
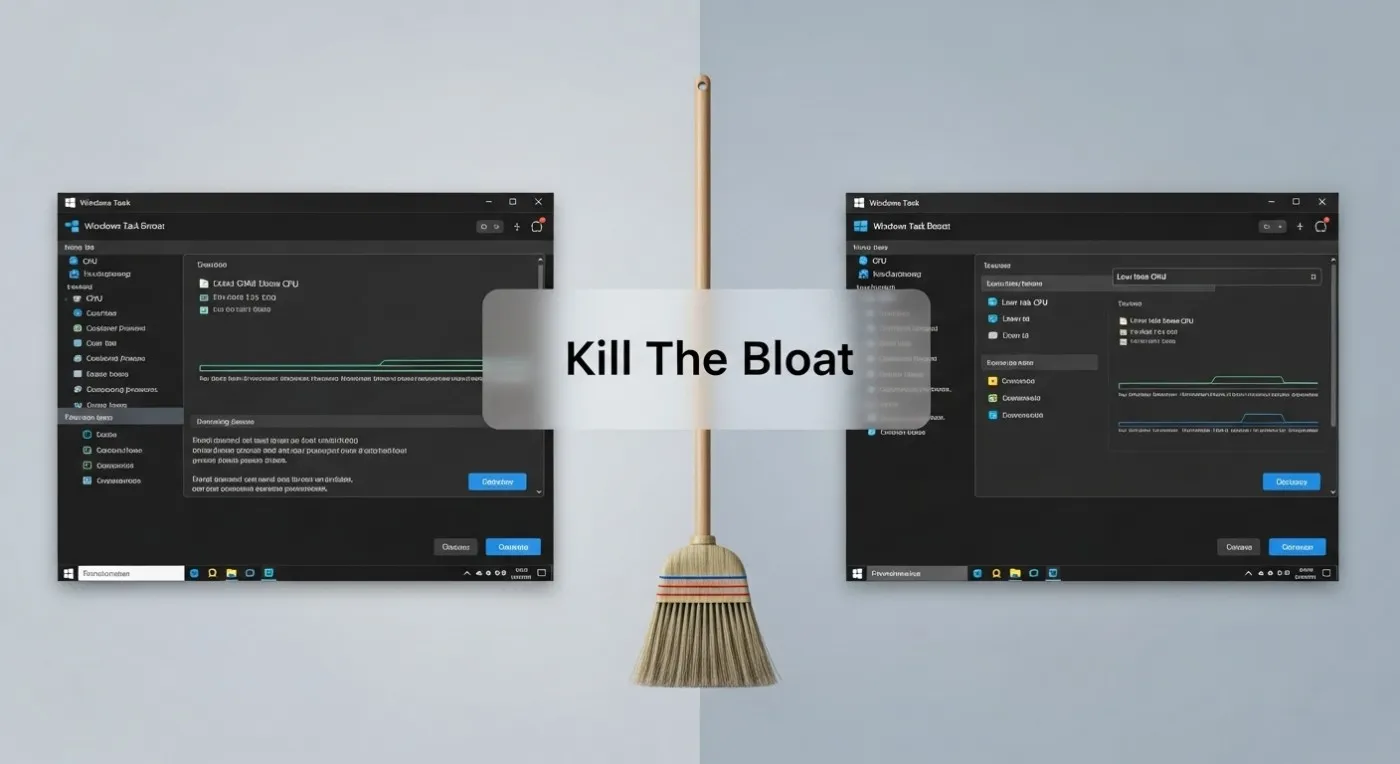
Open Task Manager, disable anything that does not need to launch at startup. This alone can make a huge difference.
3) Disable Background Apps
Stop apps from running silently. This reduces CPU spikes and memory usage.
For deeper system tweaks, use Windows settings for gaming and full PC maintenance guide.
Method 2: The One-Sweep Debloat (PowerShell)
This is your bulk removal method. Powerful, but safe if you follow instructions. Think of it as a controlled cleanup, not a blind purge.
For reference, see Microsoft Appx documentation.
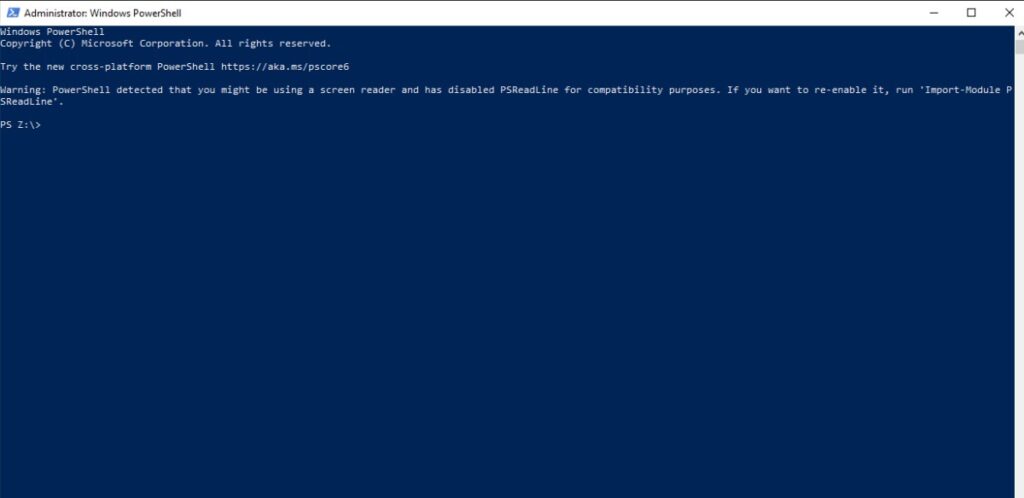
Step A: Open PowerShell as Admin
- Search PowerShell
- Right click, run as administrator
Step B: Remove Preinstalled Apps Safely (Two Options)
This is where the actual “one sweep” happens. Some people want full control and prefer removing apps one by one. Others want the fast automated method. Both work, and both start with the same rule, preview first, then execute.
Option 1: Step-by-Step Removal (Manual Commands)
This is the cautious method. You run each app filter manually, confirm it looks right, then remove it. It takes slightly longer, but it gives you maximum control.
Dry Run (Preview Only)
Run these first. They show what matches, but remove nothing.
Get-AppxPackage *xbox*
Get-AppxPackage *bing*
Get-AppxPackage *zune*
Get-AppxPackage *solitaire*
Get-AppxPackage *skype*
Execute (Remove)
If the preview looks right, run the same commands again with removal:
Get-AppxPackage *xbox* | Remove-AppxPackage
Get-AppxPackage *bing* | Remove-AppxPackage
Get-AppxPackage *zune* | Remove-AppxPackage
Get-AppxPackage *solitaire* | Remove-AppxPackage
Get-AppxPackage *skype* | Remove-AppxPackage
Option 2: One-Sweep Debloat (Automatic)
This is the faster method. Instead of typing five separate removal lines, you run one small script that loops through your cleanup list. It includes the same safety approach, preview first, then flip one switch to execute.
Step 1: Preview Mode (Safe)
Paste this first. It lists what will be targeted, but removes nothing.
$apps = "xbox","bing","zune","solitaire","skype"

$apps | ForEach-Object {
    Get-AppxPackage "*$_*"
}
Step 2: Flip the Switch (Execute Removal)
When the preview looks good, run this version. The only difference is we pipe the results into removal:
$apps = "xbox","bing","zune","solitaire","skype"

$apps | ForEach-Object {
    Get-AppxPackage "*$_*" | Remove-AppxPackage
}
These commands target common bloatware like Xbox services, legacy media apps, and bundled extras that most users never open, but that can still sit in memory, update themselves, and add background noise.
Important: avoid giant “debloat scripts” from random sites. Those often remove core Windows features and create bigger problems than they solve. This guide stays intentionally controlled.
If a major Windows update brings some apps back, that is normal. You can rerun either method anytime.
Step C: Restart and Verify
Check Task Manager and confirm lower idle usage. For deeper analysis: monitor system performance properly.
How This Behaves on Real PCs
This is where most guides fall apart, they promise FPS gains and ignore reality. Let’s be clear about what actually happens.
-
- CPU: lower background spikes, smoother frametimes
-
- RAM: more headroom, fewer stutters
-
- Storage: less random activity, fewer hitches
-
- Overall: games feel more consistent, not necessarily higher FPS
If your issue is deeper, use high CPU usage fixes or CPU vs GPU diagnosis.
Fix Your Slow PC Kit (If Debloating Is Not Enough)
If your PC still feels slow after removing bloatware, you are likely hitting hardware limits. This is where small, targeted upgrades make a bigger difference than any software tweak.
This is the exact upgrade combo I recommend when a system feels sluggish, inconsistent, or just outdated in day-to-day use.
1) Upgrade to an SSD (Biggest Impact)
If you are still on a hard drive, this is your bottleneck. An SSD removes loading delays, reduces stutter caused by background disk activity, and makes your entire system feel instantly faster.

2) Add More RAM (Stability Boost)
8GB is no longer enough for modern gaming and multitasking. Moving to 16GB or 32GB reduces background pressure and prevents stutter when multiple apps are open.

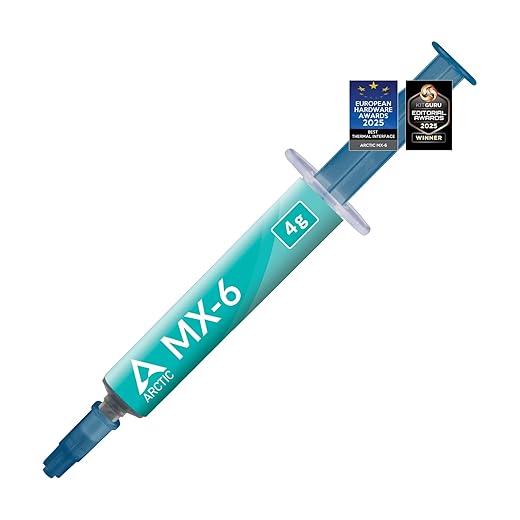
3) Replace Old Thermal Paste (Hidden Fix)
If your CPU is running hot, it will throttle performance. Fresh thermal paste is a cheap fix that can stabilize performance and reduce random slowdowns.
4) Optional: Improve Cooling
If your system runs hot under load, better airflow or a budget CPU cooler can prevent thermal throttling and keep performance consistent.

If you are not sure which upgrade actually matters for your system, start here: cheap gaming upgrades that actually boost FPS.
When This Is NOT the Fix
This is important, because a lot of people expect miracles from debloating. Sometimes, your problem is hardware.
Choosing parts blindly is how money gets wasted, use this gaming PC build guide to keep everything balanced.
-
- Your GPU is too weak
-
- Your CPU is bottlenecking
-
- Your system is overheating
-
- Your drive is slow or failing
If you are using an older or budget laptop, however, upgrading may not be practical or even possible. In that case, the better option may be choosing games that fit the hardware you already have. Our guide to games for low-end laptops focuses specifically on titles that are realistic choices for weaker laptop hardware.
If your PC still feels slow after cleanup, read this next: why your PC still feels slow.
What Gains to Expect
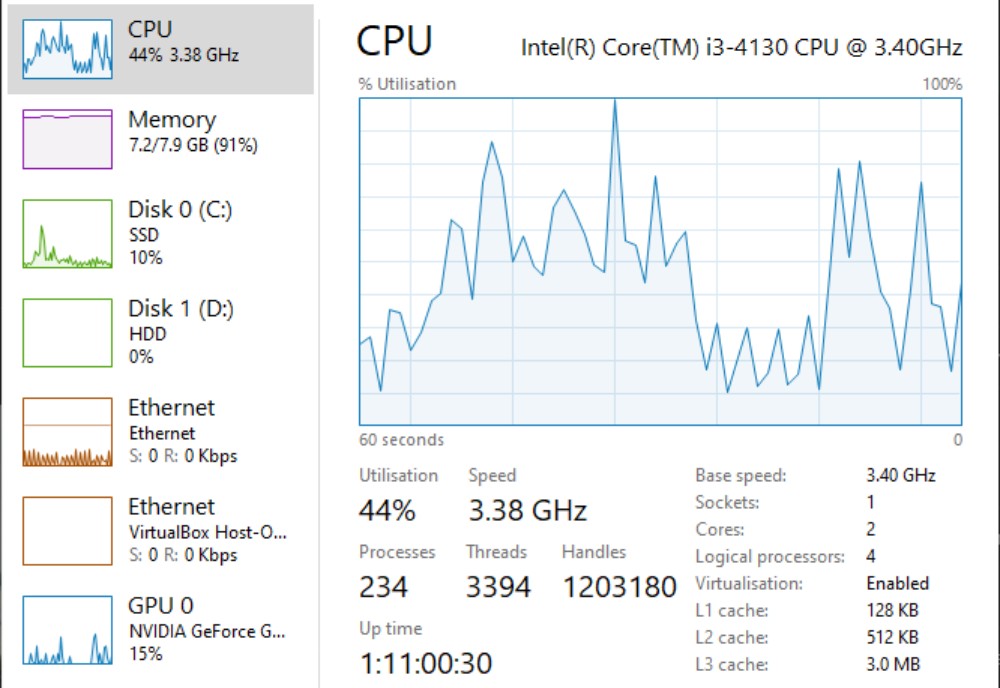
Debloating is a baseline improvement, not a magic FPS button. But it is one of the cleanest wins you can get.
-
- Faster boot times
-
- Lower idle usage
-
- Cleaner system behavior
-
- More consistent gameplay
From here, move into performance tuning: reduce lag without killing visuals or hidden FPS throttles.
FAQ
Will removing bloatware increase FPS?
Not directly. It improves consistency and reduces stutter, which often feels like better performance.
Is PowerShell debloating safe?
Yes, if you use known commands and create a restore point first.
Can I break Windows by removing apps?
Yes, if you remove core components. Stick to known safe removals.
Is this better than reinstalling Windows?
For most users, yes. Faster, safer, and keeps your setup intact.
Bottom line: debloating will not turn a bad PC into a great one, but it will stop your system from fighting itself while you game.
Once you’ve cleaned up background junk, the next step is knowing what your hardware can realistically handle, which is exactly what our guide to low end pc games that actually run covers.