
Updated 29/03/2026
Buying a second-hand processor can either save you money or quietly sabotage your entire build. If you’re wondering how to test a used CPU properly before trusting it, this guide walks you through exactly what to check, what to run, and what red flags to never ignore.
This isn’t theory. This is the difference between a working rig and hours of troubleshooting nonsense you didn’t sign up for.
Quick Answer: How to Test a Used CPU
If you just want the fast version, here’s the process:
- Visually inspect for damage
- Install in a known-good motherboard
- Boot into BIOS or Windows
- Monitor temps and clocks
- Run stress tests
- Compare benchmark results
Should You Even Buy a Used CPU?
Used CPUs are generally safer than GPUs because they don’t have moving parts and tend to degrade slowly over time. But that doesn’t mean they’re risk-free. A chip that’s been overvolted, poorly cooled, or run at high temps for years can still behave unpredictably under load.
The real question comes down to value vs risk. If the price difference between used and new is small, say under 20%, just buy new and skip the uncertainty entirely. You’re paying for peace of mind at that point.
But if you’re saving 30% or more, then testing becomes worth your time. That’s where used CPUs make sense, especially for budget builds or older platforms where new parts are overpriced or hard to find.
Just understand this: the bigger the discount, the more responsibility shifts to you to verify that the CPU is actually healthy. If you’re not willing to test it properly, you’re better off not buying used at all.
If you’re still unsure, read our full guide: Buying a Used CPU for Gaming.
1. Visually Inspect the CPU First
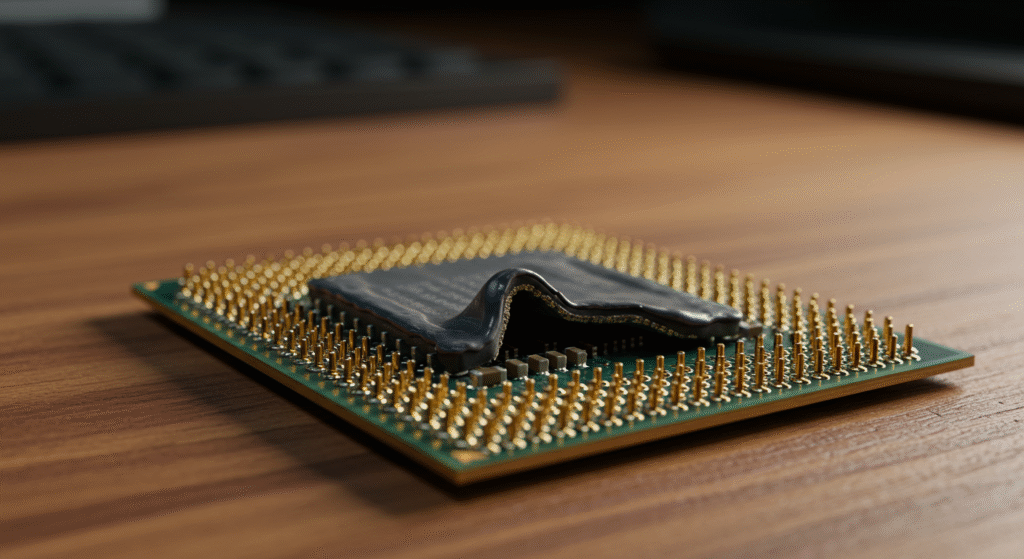
Before installing anything, physically inspect the CPU. This step alone can save your motherboard.
- Bent or missing pins
- Burn marks or discoloration
- Corrosion or residue
- Thermal paste buildup
If anything looks off, don’t test it “just to see.” That’s how you kill a motherboard.
2. Install and Boot the CPU Safely
Install the CPU into a known-working motherboard if possible. Apply fresh thermal paste and double-check compatibility. Make sure the socket type matches exactly (LGA vs PGA) and that your BIOS supports the CPU generation. Secure the cooler properly to ensure even pressure across the chip, as poor mounting can cause misleading temperature spikes. Finally, confirm all power connectors are seated correctly before powering on, especially the CPU EPS cable.

Follow proper paste application here: Best Thermal Paste Techniques.
If it boots into BIOS or Windows, that’s your first green light. If not, reseat components and rule out other hardware before blaming the CPU.
3. Monitor Temps, Clocks, and Behavior
Once you’re in Windows, your job is to observe how the CPU behaves under normal conditions. Let the system sit idle for a few minutes and watch baseline temperatures and clock speeds. Open a few basic applications to see how it responds to light load without jumping straight into stress testing. You’re looking for smooth, predictable behavior, not sudden spikes, drops, or anything that feels off.
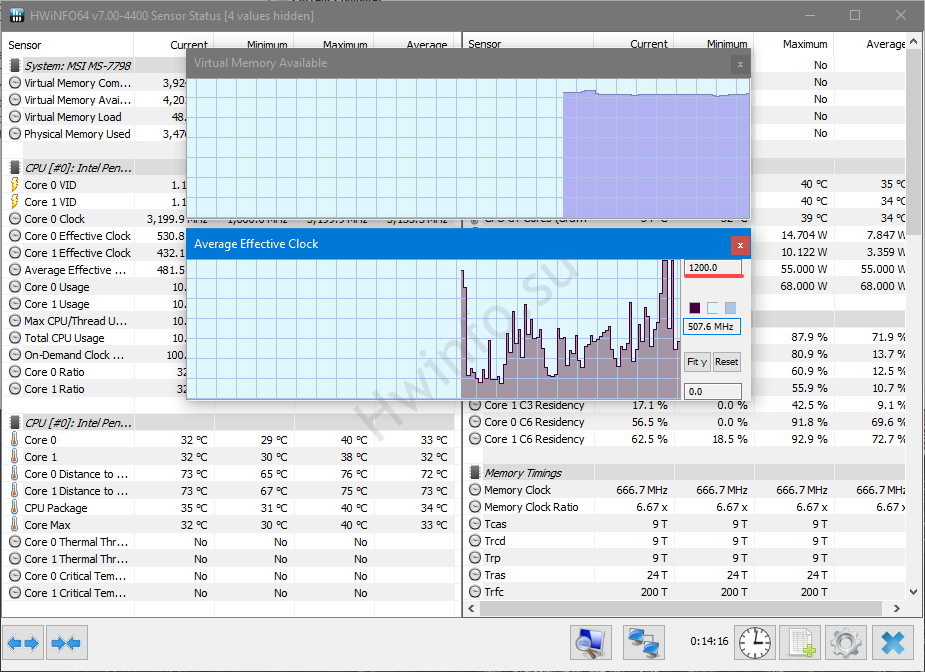
Use tools like:
- HWiNFO (detailed monitoring)
- HWMonitor (quick checks)
- CPU-Z (spec validation)
Look for stable temperatures, correct clock speeds, and normal boost behavior. If temps spike at idle or clocks fluctuate wildly, something is already wrong. If you are unsure on how to use HWiNFO see our full guide “Ultimate HWiNFO64 Guide: Bottlenecks, Temps, and Sanity Checks”
4. Stress Test the CPU Properly
This is where weak CPUs fail. Run Prime95 or Cinebench to push the CPU under load. Start with shorter test runs and gradually increase duration to see how it behaves over time. Pay close attention to temperatures, system stability, and whether the CPU maintains consistent clock speeds. A healthy CPU should handle sustained load without crashing, throttling excessively, or showing erratic behavior.
Watch for:
- Crashes or freezes
- Thermal throttling
- Unstable voltage behavior
Let the test run for at least 20–30 minutes. Problems often show up late.
If your system won’t boot at all, start here: New PC Won’t Boot Fix Guide.
How a Bad CPU Actually Feels in Games
A failing CPU doesn’t always crash immediately. It shows up as stuttering, inconsistent performance, and random instability. You might notice frame time spikes, micro-freezes, or apps hanging for no clear reason.
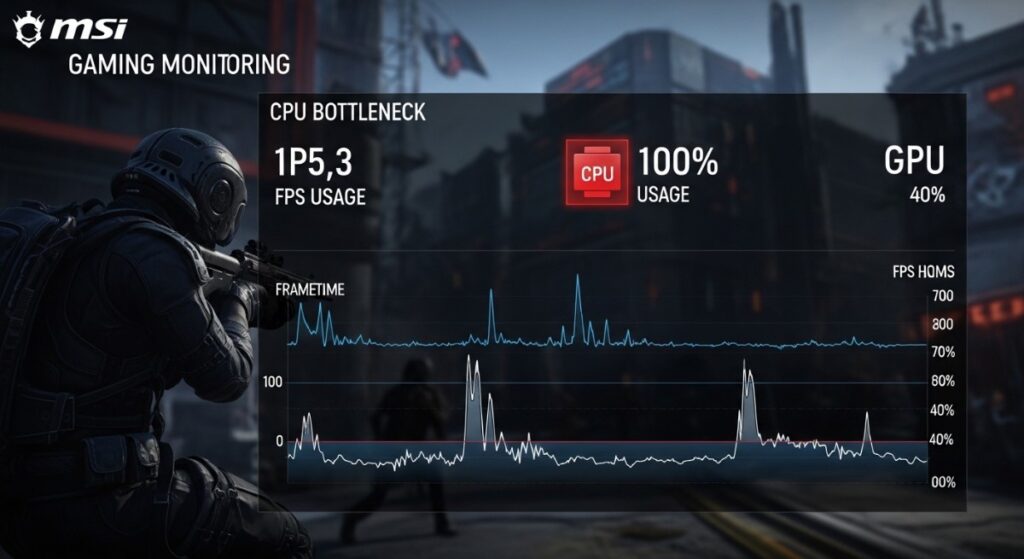
These issues often appear under load or after the system has been running for a while, which is why quick tests can miss them.
If your system feels off after upgrading, read: Why Your PC Still Feels Slow After an Upgrade.
5. Compare Benchmark Results
Now validate performance against expected results using external tools. Run the same tests multiple times to ensure consistent scores rather than one-off results. Compare your numbers with online averages for your exact CPU model to spot any major deviations. This step helps confirm that the CPU isn’t just working, but performing the way it should.
If your scores are significantly lower than expected, the CPU may be degraded or unstable.
Essential Tools to Test a Used CPU Safely
If you want accurate results and less risk, these are worth having.
Without proper thermal paste, your temperature readings are meaningless.
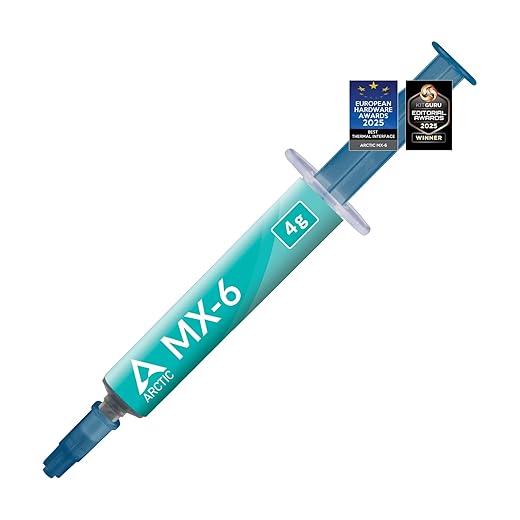

Stock coolers can hide problems. A proper cooler gives you real results.


Don’t Trust the Used CPU? Here’s a Safe Alternative
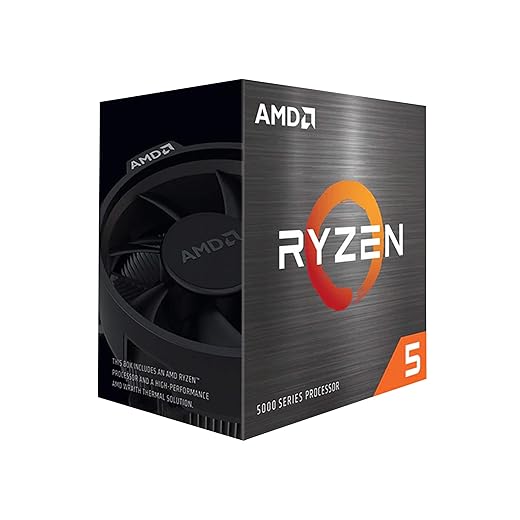
If testing feels sketchy or inconsistent, stop gambling. This is your safe exit. Reliable, predictable, and zero headaches.

Want to Test CPUs Properly? Build a Cheap Test Bench
If you plan to do this more than once, stop risking your main system.


This turns CPU testing into a controlled process instead of guesswork.
Used CPU vs New CPU – Quick Reality Check
Choosing between a used and new CPU comes down to how much risk you’re willing to tolerate. A used CPU can save you money, but it requires proper testing and a bit of trust in the previous owner. A new CPU costs more upfront, but it’s plug-and-play with zero uncertainty. If you’re comfortable testing and troubleshooting, used makes sense. If you just want to build and move on, new is the safer call.
- Used CPU: cheaper, higher risk
- New CPU: more expensive, zero risk
- Test setup: upfront cost, long-term savings
Important Compatibility Warning
If you’re working with older systems, especially DDR3-era builds, modern CPUs and RAM won’t be compatible with your motherboard. These platforms use different sockets and memory standards, so upgrades aren’t as simple as swapping parts. In most cases, you’ll need to stick with second-hand components that match your existing system, or consider a full platform upgrade instead of forcing incompatible hardware to work.
When You Should NOT Buy a Used CPU
Testing a used CPU works, but it’s not always worth the effort. If you don’t have spare parts to troubleshoot with, or you’re building your only system, the risk goes up quickly. One bad component can waste hours of time and leave you guessing what actually failed.
Used CPUs also make less sense when newer models are priced competitively or when you need guaranteed stability for work, streaming, or competitive gaming. In those cases, the time you save by buying new often outweighs the money you save going second-hand.
If you’re not comfortable diagnosing hardware issues or running stress tests, skip the used market entirely. It’s only a good deal if you can verify what you’re buying.
Final Verdict: Is Your Used CPU Safe?
If it passes inspection, boots cleanly, survives stress testing, and hits expected benchmarks, you’re good. At that point, the CPU is not just functional, but stable under real-world conditions. You can install it into your main system with confidence, knowing it’s unlikely to cause random crashes or performance issues down the line.
If not, don’t force it. Replace it and move on.
Because debugging a bad CPU is a time sink you don’t want.