Quick Build Takeaways
- Decide the PC’s main job first. That choice sets your CPU, GPU, and case.
- For 1080p gaming, prioritize GPU. For streaming or editing, give the CPU more cores and add 32GB RAM.
- Always use an SSD for your OS and games. NVMe if possible.
- Buy a reputable PSU with 20 to 30 percent headroom. It protects the whole rig.
- Run your list through PCPartPicker before you buy. It catches nasty surprises.
On this page: Purpose · CPU · Motherboard · RAM · Storage · GPU · PSU · Case · Peripherals · Compatibility
Step 1: Define the PC’s Purpose
Before you even look at a single part or compare prices, be brutally honest about what you are building this PC for and how to pick PC parts for your build. Why? Because every component decision, from your CPU to your case, hinges on what you are actually going to do with the machine.
Start with this simple question:
What will this PC spend 80% of its time doing?
Here are the common scenarios:
Office & Productivity Use
If you are building a system for general office work, school, or everyday tasks like:
- Web browsing
- Microsoft Office or Google Docs
- Video calls and emails
You do not need a powerful CPU or a dedicated graphics card. You want:
- Efficiency
- Quiet operation
- Quick boot times
A build like this will benefit from:
- A good SSD for snappy performance
- 16GB of RAM for modern multitasking
- An integrated GPU, no need to buy a separate graphics card
Gaming

If you are gaming, your priorities shift hard:
- Your GPU becomes the most important component
- You will need a CPU that will not bottleneck your GPU
- 16GB RAM is the minimum, 32GB if you are multitasking like Discord, OBS, Chrome
Ask yourself:
- Are you playing competitive shooters like Valorant, CS2, or Overwatch?
- Or are you going for immersive single player titles like Cyberpunk 2077 or Starfield?
Competitive gamers want high FPS at 1080p, so CPU matters a lot.
Story focused gamers want higher resolutions and better visuals, so GPU matters more.
Content Creation or Streaming
Building a PC for video editing, 3D rendering, livestreaming, or photo work?
You will need:
- A CPU with more cores and threads
- Fast NVMe SSDs for large file transfers
- A GPU that can accelerate rendering in apps like DaVinci Resolve or Premiere Pro
- At least 32GB RAM to keep things fluid
Also important: airflow, quiet fans, and reliability. You do not want crashes mid render. See our Silent PC Build 2025 guide.
Hybrid Builds, Gaming + Work + Streaming
Trying to do a bit of everything?
You will need to balance:
- A mid to high end CPU like a Ryzen 5 or i5 at least
- A reliable GPU, even something like an RTX 3060
- Storage split between SSD boot drive and HDD bulk storage
This is where most people live, so we will help you stay flexible without overspending.
Quick Reference Table, Use Case vs Priorities
| Use Case | CPU Priority | GPU Priority | RAM | Storage | GPU Required? |
|---|---|---|---|---|---|
| Office / School | Low | None | 8–16GB | SSD | ❌ Use APU |
| Gaming | Medium | High | 16GB | SSD + optional HDD | ✅ |
| Streaming / Editing | High | Medium | 32GB+ | Fast SSD | ✅ |
| Hybrid, Game + Work | Medium | Medium | 16–32GB | SSD + HDD | ✅ |
Ready to plan a parts list? Start with our PC Part Compatibility Mistakes checklist to dodge the usual traps, then price it out with PCPartPicker.
Bottom Line:
Your build does not start with a budget, it starts with your intent. Once you are clear on what the PC needs to do, the rest of the parts will start choosing themselves. Bonus: If you need to make decisions about this build and are unsure, ask these 15 questions before building a PC.
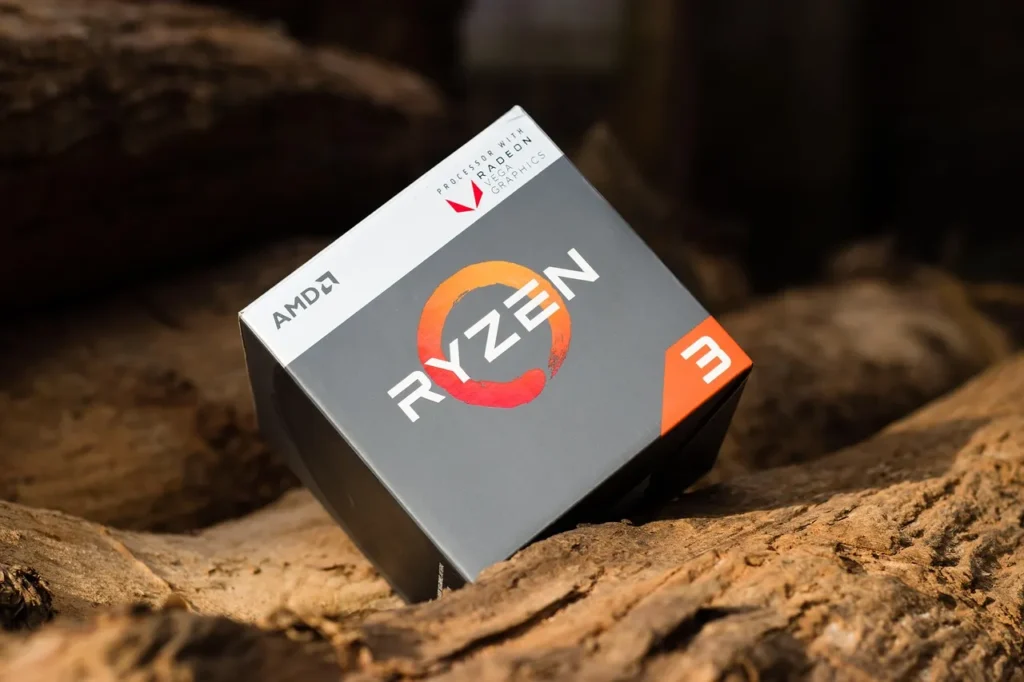
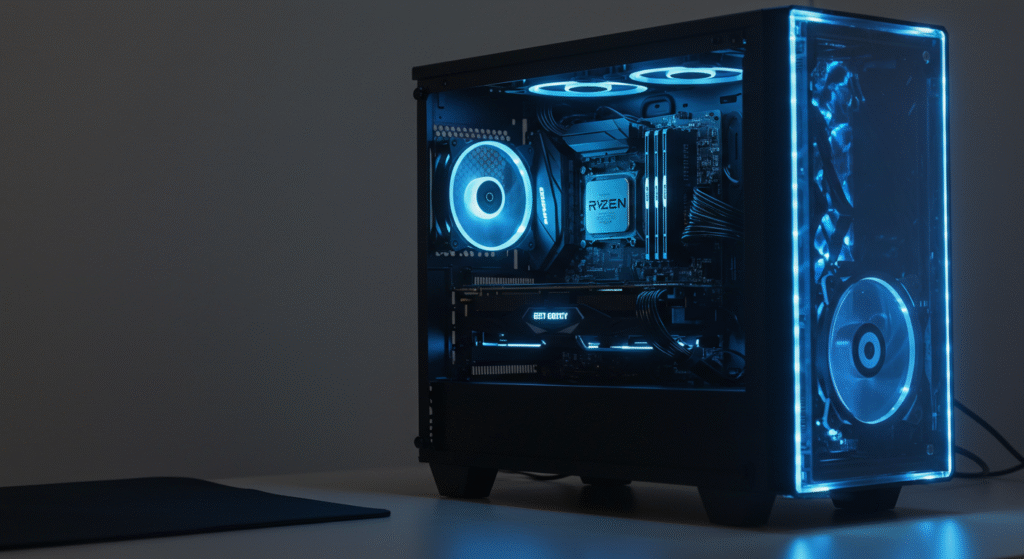
Step 2: Choose the Right CPU, Your PC’s Brain

The CPU, or processor, is the brain of your PC. It handles everything from launching Chrome to running games, compiling code, rendering video, and pretending you are not procrastinating on Reddit.
But here is the thing, you do not need a 500 dollar CPU to build a great machine. You just need the right CPU for your goals. If you want to dig deeper, check out these guides:
Start with the Basics, Intel vs AMD
In 2025, both brands are excellent, and fanboy wars are a waste of time.
| Brand | Pros | Watch Out For |
|---|---|---|
| Intel | Great single core speed, excellent for gaming | Older motherboards may not support latest CPUs |
| AMD | Solid all rounders, strong multi core performance | Older Ryzen chips may need a BIOS update |
Tip, do not pick based on brand. Pick based on performance per dollar and compatibility with your motherboard.
What You Should Know Before Buying a CPU:
1. Socket Compatibility
Your CPU needs to match your motherboard socket type:
- Intel 12th, 13th, 14th gen = LGA 1700
- AMD Ryzen 5000 series = AM4
- AMD Ryzen 7000+ = AM5
You cannot shove a Ryzen into an Intel board and hope for the best.
2. Cores and Threads, More Is not Always Better
- 4 cores, fine for basic work or light gaming
- 6 cores, great for gaming and productivity
- 8 to 12 cores, best for creators, streamers, or future proofing
Do not just count cores. A fast 6 core chip can outperform a slow 8 core in gaming. Clock speed and architecture matter too.
3. Do You Need an Integrated GPU, APU?
If you do not plan to buy a graphics card, you need a CPU with built in graphics:
- Intel CPUs ending in “F” do not have integrated graphics, for example i5 12400F = no iGPU
- AMD CPUs with “G” suffix do have integrated graphics, for example Ryzen 5 5600G = yes iGPU
For basic office or browsing builds, a CPU with integrated graphics saves you money.
4. Stock Cooler or Aftermarket?
Some CPUs come with coolers. Others do not.
| CPU | Cooler Included? |
|---|---|
| Intel i3, i5 non K | Yes |
| Intel K series, overclockable | No |
| AMD Ryzen 5 5600G | Yes, decent |
| AMD Ryzen 7 5800X | No |
If your CPU does not come with a cooler, or you want quieter temps, factor in an aftermarket one.
5. Future Proofing Without Overbuying
Do not throw money at a CPU just because it is future proof. CPUs age slower than GPUs, but still:
- If you are gaming at 1080p, Ryzen 5 or i5 is more than enough
- If you are editing video or streaming, Ryzen 7 or i7 gives breathing room
- If you are just checking email, do not waste money on anything above a Ryzen 3 or i3
You can always upgrade later if your motherboard supports newer chips. That is where smart socket planning pays off.
Bonus Tip, Check Compatibility the Easy Way
Before you buy anything, run your planned CPU and motherboard combo through compatibility tools. If you are buying second hand, learn how to test a used CPU before installing it so it does not fry your whole rig.
- PCPartPicker warns you of compatibility issues
- Or check the motherboard CPU support list on the manufacturer website
If you are buying used, double check stability before install with our Used CPU Testing Guide.
Bottom Line:
Your CPU should match your needs, your budget, and your motherboard, in that order. Do not get distracted by fancy naming schemes or core counts. Pick the one that does what you need, fast, cool, and reliably.
“Still comparing CPUs? Use these official tools to see detailed specs, features, and power usage:”
• Intel Product Specifications Comparison Tool
• AMD Processor Product Selector
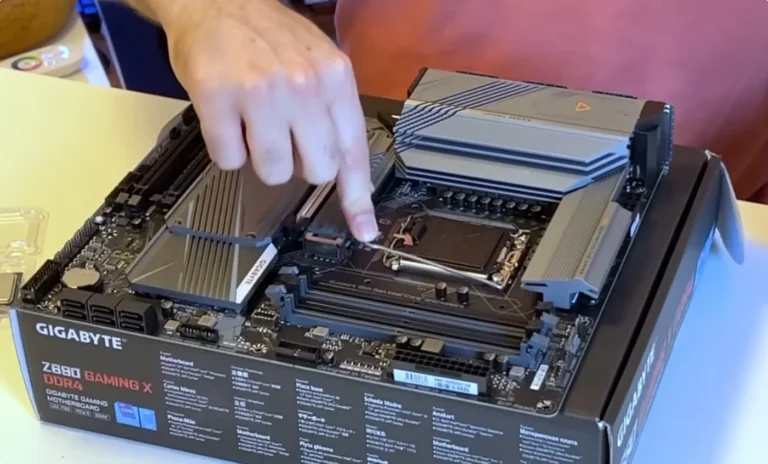
Step 3: Choose the Right Motherboard, Your PC’s Backbone
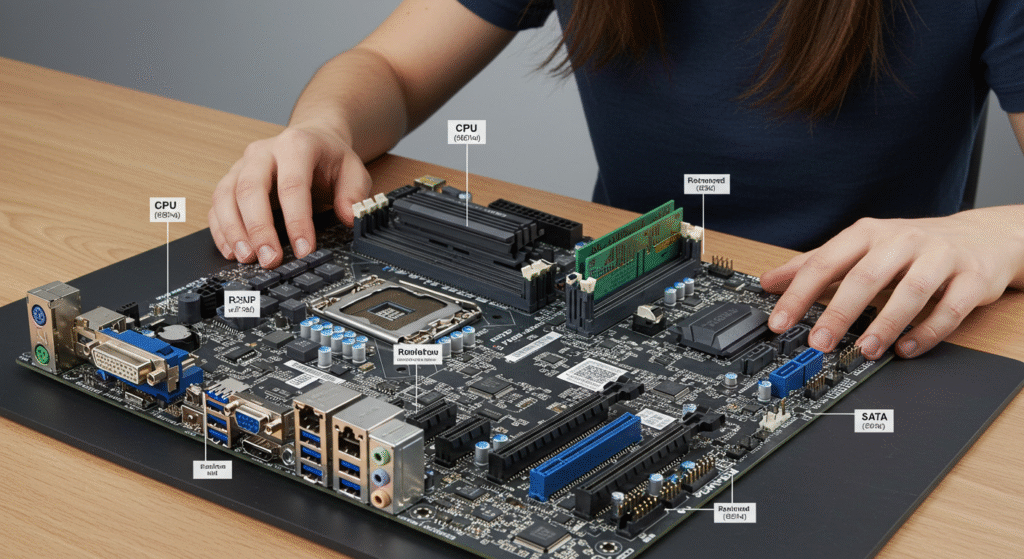
The motherboard is like the wiring diagram of your entire PC. It connects all your components, handles power distribution, and defines what features you can use, like how much RAM you can install, whether you can overclock, or if you will have to survive without USB C.
Most people overspend or under research their motherboard. Let us not do that.
Step 1: Match the Socket and Chipset
First, your CPU and motherboard must be on speaking terms.
| CPU Type | Socket | Chipsets You Will See |
|---|---|---|
| Intel 12th to 14th Gen | LGA 1700 | H610, B660, B760, Z690, Z790 |
| AMD Ryzen 5000, AM4 | AM4 | A520, B550, X570 |
| AMD Ryzen 7000+, AM5 | AM5 | B650, X670, X670E |
Tip:
- B series boards offer the best balance, for example B660, B550, B650
- Z series and X series are more expensive and allow overclocking
- A series are entry level and might be missing key features
Step 2: Form Factor, How Big Do You Need It?
Motherboards come in three sizes:
| Size | Description | Use Case |
|---|---|---|
| ATX | Standard size, full features | Most gaming or work builds |
| Micro ATX, mATX | Smaller, fewer ports | Budget and compact builds |
| Mini ITX | Very small, tight fit | Niche compact builds, tricky for beginners |
Check your case size to make sure the board will fit.
Step 3: Key Features to Look For
1. VRMs and Power Delivery
If you are using a mid to high end CPU, you need stable power delivery. This is where VRMs, Voltage Regulator Modules, come in.
- Good VRMs mean stable performance and cooler temps
- Bad VRMs mean overheating, throttling, or instability under load
A solid B550 or B660 board will often outperform a cheap X570 or Z690 if it has better VRMs.
2. RAM Support
- Look for 2 or 4 RAM slots, some cheap boards only have 2
- Confirm it supports your desired RAM speed, for example 3200 MHz or DDR5 6000
- Make sure it supports dual channel
3. Storage Options
- M.2 NVMe slots, minimum 1, ideally 2
- SATA ports, at least 2 to 4 for SSDs and HDDs
- Check if it supports PCIe 4.0 or 5.0 for faster drives, depends on CPU too
4. Connectivity
Look for:
- At least 4 rear USB ports, prefer USB 3.2 Gen 2
- USB C header if your case supports it
- Ethernet port, gigabit is standard, 2.5 GbE is a bonus
- Onboard Wi Fi and Bluetooth, or plan to add them separately
5. Quality of Life Features
These make your build easier and safer:
- BIOS Flashback button, update BIOS without CPU installed
- Debug LEDs or POST code screen, helps troubleshoot boot issues
- Reinforced PCIe slots for heavy GPUs
- Proper heatsinks on VRMs and M.2 slots
Step 4: Future Proofing Without Wasting Money
- Want to upgrade to a future CPU? Get a board with an upgrade path, for example AM5 supports future AMD chips
- Want to install faster RAM or GPUs later? Choose a board with enough clearance, slots, and power phases
- Do not want to upgrade for years? Spend a little more upfront and get a better B series or X series board
Common Motherboard Mistakes
- Buying the wrong socket, double check
- Forgetting to check BIOS support for newer CPUs
- Buying a board with no Wi Fi or Bluetooth when you need it
- Getting a cheap board with bad VRMs that overheats
- Assuming all boards support overclocking, many do not
Bottom Line:
The motherboard is not where you flex your budget. It is where you secure stability, compatibility, and future options. Pick a reliable board that matches your CPU, fits your case, and gives you the ports and features you need, nothing more, nothing less.
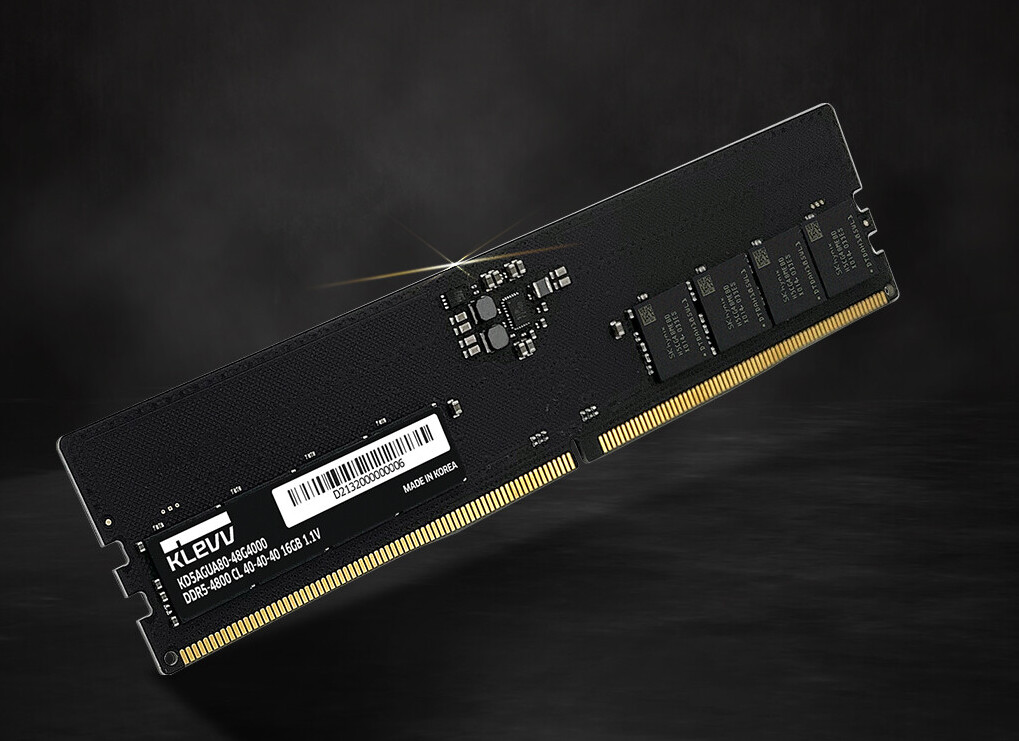
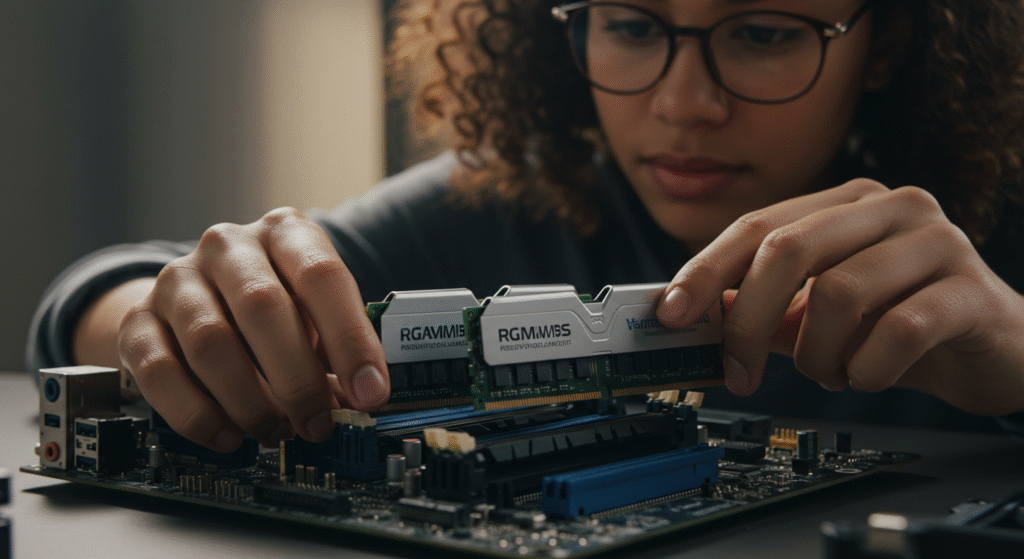
Step 4: Choose the Right RAM, Your PC’s Short Term Memory
RAM is where your PC temporarily stores data it needs right now. The more demanding your tasks, gaming, video editing, running 37 Chrome tabs while streaming Spotify and arguing on Reddit, the more RAM you need.
RAM is not just about quantity. Speed, configuration, and compatibility all matter.
Step 1: How Much RAM Do You Actually Need?
| Use Case | Minimum | Ideal |
|---|---|---|
| Office / School | 8GB | 16GB |
| Gaming, 1080p to 1440p | 16GB | 16 to 32GB |
| Streaming / Editing | 16GB | 32GB+ |
| 3D Rendering / Dev Work | 32GB | 64GB+ |
For most users, 16GB in dual channel, 2x8GB, is the sweet spot.
Step 2: Speed vs Latency, What Do the Numbers Mean?
RAM speed and latency affect performance, especially in AMD systems.
- Speed: Measured in MHz, for example 3200, 6000
- Latency, CL: Lower is better, for example CL16 is better than CL22
Example:
DDR4 3200 CL16 is faster in real use than DDR4 3600 CL22, despite the higher MHz.
For AMD systems especially, balanced speed and latency improves FPS and system responsiveness.
Step 3: DDR4 vs DDR5, Should You Go Next Gen?
| Type | Pros | Cons |
|---|---|---|
| DDR4 | Widely available, cheaper | Slightly slower, older platforms |
| DDR5 | Higher bandwidth, future proof | More expensive, needs compatible CPU and motherboard |
If you are on a tight budget or building with Ryzen 5000 or Intel 12th or 13th gen, DDR4 is still perfectly fine.
If you are going AM5 or Intel 14th gen and want to future proof, DDR5 is the way to go.
Step 4: Dual Channel vs Single Stick, Always Go Dual
- Two sticks, 2x8GB or 2x16GB, equals dual channel
- One big stick, 1x16GB, equals single channel
Dual channel equals faster bandwidth and real world performance.
Always buy RAM in pairs unless you are planning to upgrade to dual later.
Step 5: Check for Clearance and Compatibility
- RAM Height: Some kits have tall heat spreaders that might block air coolers
- Motherboard Support: Make sure your board supports the speed you are buying, check QVL list
- XMP or DOCP Profile Support: Enable your RAM advertised speed in BIOS, it will not run at full speed by default
New to XMP or DOCP? Here is the simple setup I use in HWiNFO to sanity check RAM speeds and temps after enabling profiles.
Step 6: Do not Fall for RGB = Better
- RGB lighting does not make your PC faster
- Non RGB kits are usually cheaper, and just as fast
- If you are into aesthetics, go for it. Do not sacrifice specs for flashing lights
Step 7: Common RAM Mistakes to Avoid
- Buying a single stick thinking you will upgrade later, performance suffers now
- Not checking motherboard compatibility, some older boards will not run 3600 MHz plus reliably
- Forgetting to enable XMP in BIOS
- Choosing DDR5 on a board that only supports DDR4, or vice versa
Bottom Line:
RAM affects your system smoothness, not just how many tabs you can open. Go for at least 16GB, make sure it is in dual channel, and do not cheap out on speed or compatibility. If you are building for heavier workloads, jump to 32GB+ and DDR5 when the platform allows it.
Step 5: Pick the Right Storage, SSDs Are Non Negotiable Now

Gone are the days of watching your PC boot while you make coffee. Solid state drives have made spinning hard drives feel like floppy disks. If you are still thinking about using one as your main drive, I am here to stop you gently but firmly.
Step 1: Know the Two Main Types of Storage
| Type | Description | Best For |
|---|---|---|
| SSD, Solid State Drive | Fast, silent, no moving parts | Boot drive, apps, games |
| HDD, Hard Disk Drive | Mechanical, slower, cheap | Mass storage only, media, backups |
SSDs are at least ten times faster than HDDs in real use.
Step 2: SSD Types, SATA vs NVMe
SATA SSD:
- 2.5 inch form factor, uses SATA port
- Speeds up to about 550 MB per second
- Still way faster than an HDD
- Cheaper and widely compatible
NVMe SSD, M.2:
- Plugs directly into motherboard M.2 slot
- Speeds up to 7,000 MB per second with PCIe 4.0 or 5.0
- Smaller, no cables, much faster boot and load times
- Ideal for gamers, editors, and anyone who wants speed
Do not assume all M.2 drives are NVMe, some are SATA. Check specs.
Not sure if NVMe is worth it? See our real world SSD performance tests in games.
Step 3: Storage Capacity, How Much Do You Really Need?
| Usage Type | Recommended Setup |
|---|---|
| Basic Office PC | 500GB SSD, SATA or NVMe |
| Gaming PC | 500GB to 1TB NVMe SSD, boot + games |
| Hybrid Build | 1TB NVMe + optional 1 to 2TB HDD for mass storage |
| Editing / Creative Work | 1TB+ NVMe SSD main, 2TB+ HDD archives |
Tip: Try to avoid 256GB SSDs, you will run out of space before your first Steam sale ends.
Step 4: Performance Is not Just Speed, It Is Endurance
Ever see TBW or MTBF on a product spec sheet?
- TBW: Terabytes Written, how much data the drive can write over its life
- MTBF: Mean Time Between Failures
Higher TBW is better for editing heavy workloads.
For average users, even entry level SSDs will last 5 to 10 years easily.
Step 5: Use SSDs for Everything That Matters
Do not limit your SSD to just the OS. Use it for:
- Your browser, you will feel the speed
- Office apps, game launchers, streaming tools
- Games with heavy asset loading, like GTA V, Starfield, or modded Skyrim
- Editing software like Photoshop, Premiere, DaVinci Resolve
If it takes time to load or launch, it belongs on the SSD.
Step 6: Storage Configuration Examples
| Setup | Description |
|---|---|
| Option 1, 1TB NVMe SSD only | One fast drive, clean and simple, perfect for most |
| Option 2, 500GB NVMe + 2TB HDD | Fast boot and apps + massive file storage |
| Option 3, 1TB NVMe + 1TB SATA SSD | All solid state, fast and flexible, ideal for mid tier builds |
Step 7: Common Storage Mistakes to Avoid
- Using only an HDD in 2025, painfully slow
- Installing Windows on the HDD instead of the SSD
- Buying a cheap SSD with poor endurance for editing heavy use
- Assuming all SSDs perform the same, they do not
- Filling your boot SSD to 90 percent plus, it slows down dramatically
Bottom Line:
Storage is more than capacity. It is about speed, reliability, and sanity. Your PC will feel much faster with even a basic SSD. Go NVMe if you can. Use an HDD only if you really need mass storage. Do not cheap out here, your daily experience depends on it, and real world SSD performance in gaming proves the difference.
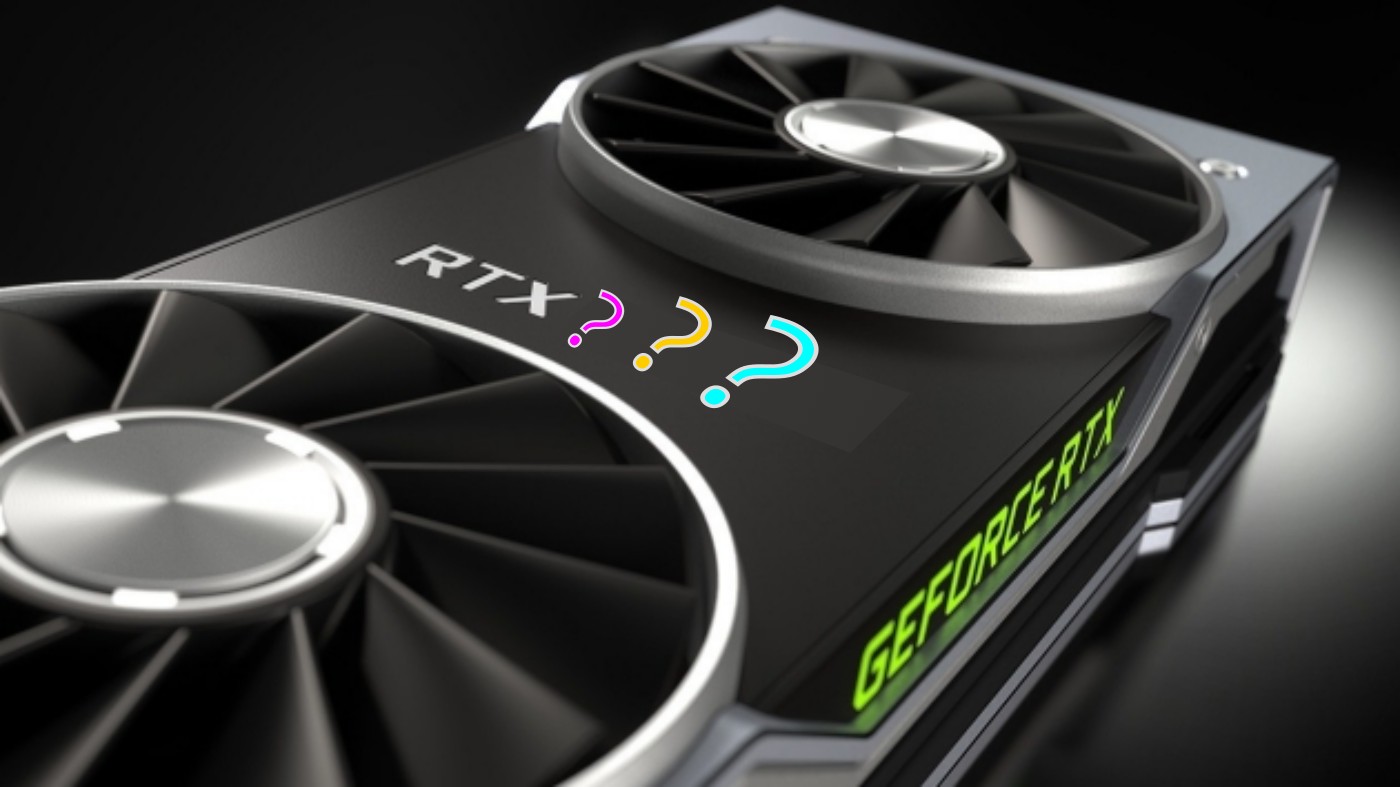
Step 6: Choose a Graphics Card, The Gaming Powerhouse
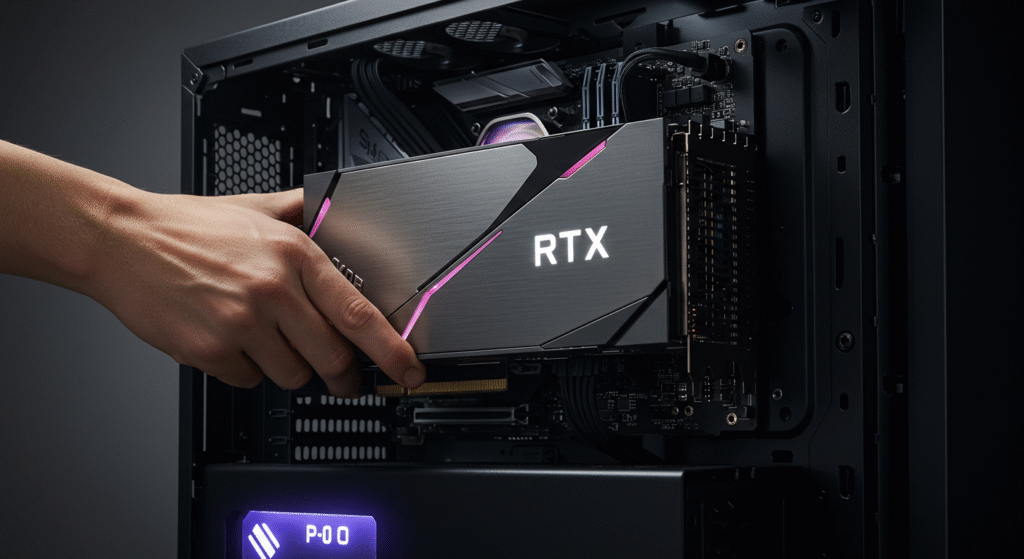
If your CPU is the brain, the GPU is the muscle, especially for gaming, 3D rendering, editing, or AI workloads. It is also usually the most expensive part of any build, and the most marketing hyped.
Not every build needs a high end RTX monster. Let us break down what you actually need.
Step 1: Do You Even Need a Dedicated GPU?
You might not, seriously.
| Use Case | GPU Needed? | Explanation |
|---|---|---|
| Office Work | ❌ No | Integrated graphics are fine, APUs or Intel iGPUs |
| Casual Gaming | ❓ Maybe | Entry level APU or older budget card can work |
| AAA Gaming, 1080p+ | ✅ Yes | Needs dedicated GPU for smooth performance |
| Video Editing / 3D | ✅ Yes | GPU acceleration saves hours of render time |
Tip: AMD APUs like Ryzen 5 5600G have capable built in graphics for basic tasks and light gaming.
Step 2: Match the GPU to Your Monitor and Games
No point in spending 600 dollars on a GPU if your monitor is 1080p 60 Hz.
| Monitor Resolution | Ideal GPU Tier |
|---|---|
| 1080p 60 Hz | GTX 1650, RX 6500 XT, Arc A380 |
| 1080p 144 Hz | RTX 3060, RX 6600 XT |
| 1440p 60 to 144 Hz | RTX 3070, RX 6700 XT |
| 4K or Ultrawide | RTX 4070+, RX 7900 XTX |
Also consider game types:
- Fast paced shooters benefit from higher FPS
- Story driven games benefit from higher visuals
- Modded games like Skyrim or Minecraft eat VRAM
Chasing smooth over bragging rights? Cap your FPS to a steady target and tune from there. Start with Cap Your FPS, Seriously, Stop Flexing.
Step 3: VRAM, How Much Is Enough?
- 4GB, barely scraping by in modern titles
- 6GB, playable at 1080p in most games
- 8GB, sweet spot for modern 1080p or 1440p gaming
- 12GB+, ideal for 4K, texture heavy mods, AI tools, or future proofing
Tip: Modern games like Hogwarts Legacy and Starfield already choke GPUs with less than 8GB VRAM at higher settings.
Step 4: Cooling Types, It Is More Than Just Fans
| Cooler Type | Description | Use Case |
|---|---|---|
| Single Fan | Compact, runs hotter or louder | Small form factor or budget cards |
| Dual Fan | Balanced cooling and noise | Most mid range builds |
| Triple Fan | Better thermals, quieter, larger | High performance cards |
| Blower Style | Exhausts hot air out of case | Niche, best for cramped builds |
| AIO or Water Cooled | Extreme cooling | Overkill unless you are pushing limits |
Step 5: Power and Size, Will It Even Fit?
Before you hit checkout, double check two things:
- Power Requirements:
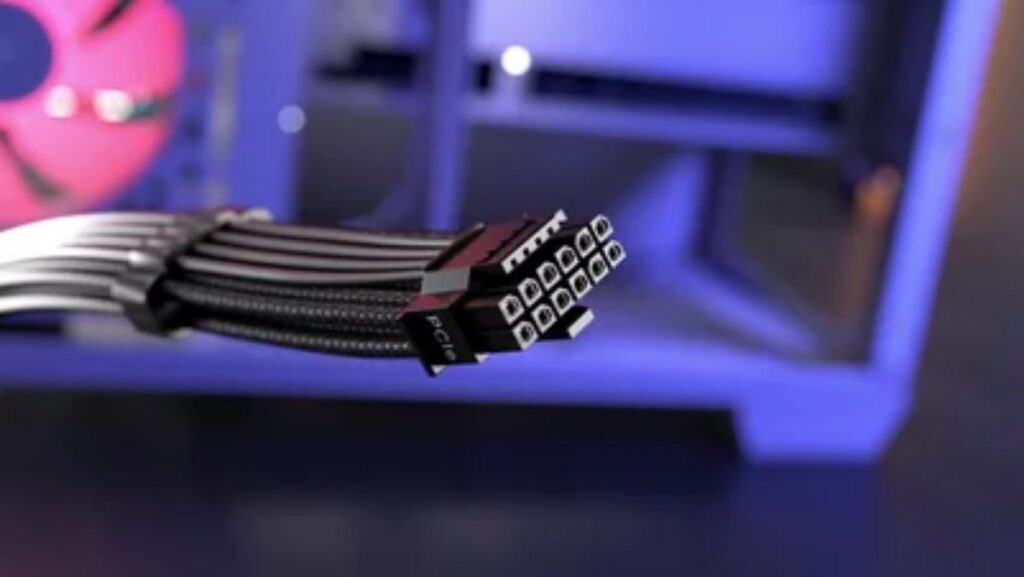
- Make sure your PSU has enough wattage and the right connectors
- Some GPUs now use the new 12VHPWR, adapter or native support required
- Case Clearance:
- Triple fan GPUs can be over 300 mm long
- Measure your case GPU clearance or check the spec sheet
Step 6: New vs Used, Should You Consider Second Hand?
Used GPUs can be great value or a ticking time bomb.
Pros:
- Lower price for better performance tier
- Easier to justify two year old models like RTX 3060, RX 5700 XT
Cons:
- Unknown usage history, mining or overclocking
- No warranty
- Risk of fake or DOA units on shady marketplaces
Tip: Buy used only from trusted sellers, check return policies, and test thoroughly.
Step 7: Common GPU Mistakes to Avoid
- Pairing a high end GPU with a weak CPU, bottleneck city
- Not checking power connectors, 6 pin, 8 pin, 12 pin
- Assuming all RTX cards equal ray tracing heaven, even RTX 3050 struggles
- Not checking GPU benchmarks for your games
- Forgetting to check GPU driver support in Linux or macOS
Bottom Line:
The GPU is where gaming performance lives, but more is not always better. Buy the GPU that fits your monitor, your games, your power supply, and your case. If you are on a budget, prioritize a solid GPU and make smart sacrifices elsewhere.
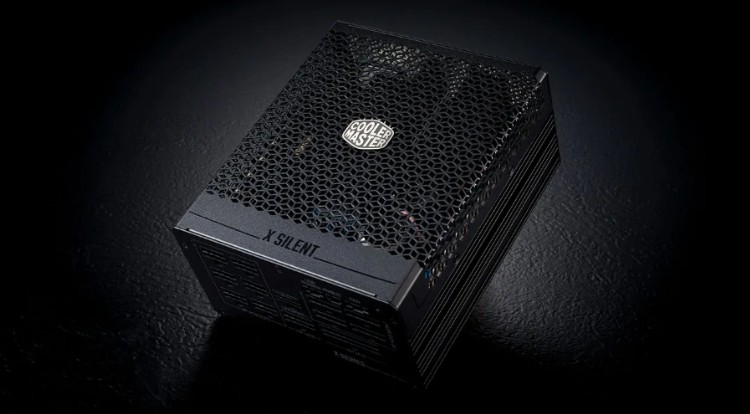
Step 7: Choose a Power Supply, Do not Let This Cheap Part Ruin Everything
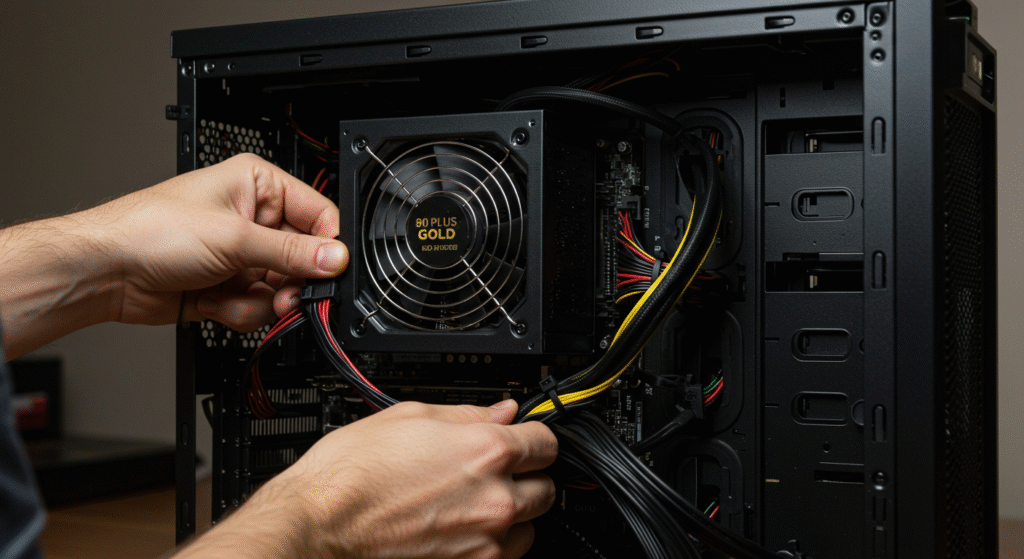
The power supply unit is like your PC life support. It will not make your games run faster or your PC look cooler, so people tend to cheap out here, until their 300 dollar GPU gets fried by a sketchy no name PSU.
Let us not be that person.
Step 1: Wattage, How Much Do You Actually Need?
You do not need a 1000 W PSU unless you are building a dual GPU monster or running an RTX 4090 and a coffee machine on the same cable.
Use a calculator like:
| Build Type | Recommended Wattage |
|---|---|
| Office or Basic Build | 400 to 500 W |
| Mid Range Gaming, RTX 3060 | 550 to 650 W |
| High End, RTX 4070, Ryzen 7 | 650 to 750 W |
| Enthusiast, RTX 4080+, overclocking | 850 to 1000 W+ |
Always add 20 to 30 percent headroom. Future upgrades, spikes in draw, and PSU longevity depend on it.
Unsure on connectors and rail limits? Our compatibility mistakes checklist covers PCIe power, 12VHPWR adapters, and common pitfalls.
Step 2: Efficiency Rating, What Is 80 Plus Bronze, Gold, Platinum?
80 Plus ratings measure how efficiently your PSU converts wall power into usable PC power.
| Rating | Efficiency | Typical Use Case |
|---|---|---|
| 80 Plus Bronze | About 85% | Budget to mid range builds |
| 80 Plus Gold | About 90% | Gaming and creator builds |
| 80 Plus Platinum | About 92% | High end or quiet focused builds |
Tip: The higher the rating, the less power is wasted as heat, and the cooler and quieter your PSU will run.
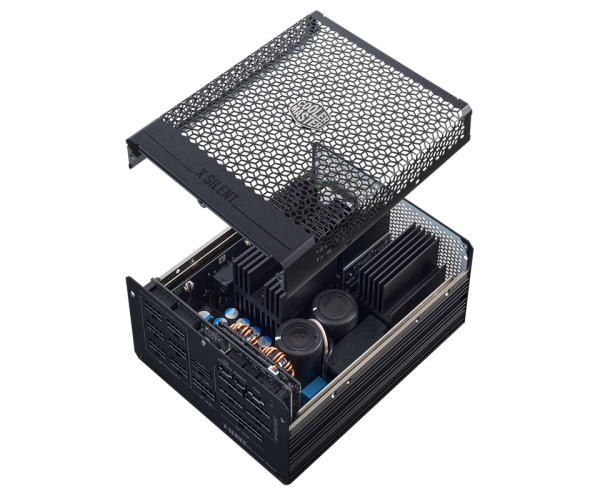
Step 3: Modular vs Non Modular
| Type | Description | Pros |
|---|---|---|
| Non Modular | All cables attached | Cheapest, messy cables |
| Semi Modular | Some fixed cables | Good middle ground |
| Fully Modular | Only plug in what you need | Best for airflow and cable management |
If your case has limited cable space, go modular. Your fingers and sanity will thank you.
Step 4: Safety Features, Hidden Lifesavers
Do not just look at wattage. Make sure your PSU has proper protection:
- OVP, Over Voltage Protection
- UVP, Under Voltage Protection
- SCP, Short Circuit Protection
- OCP or OPP, Over Current or Over Power Protection
These features help prevent your PSU from frying your motherboard or GPU in a power surge.
Step 5: Trusted PSU Brands, And Ones to Avoid
Reputable Brands:
- Seasonic
- Corsair, RM, RMx, SF, AX series
- EVGA, G series
- be quiet!
- Super Flower
- Fractal Design
Brands to Be Cautious With:
- Generic “Gaming” PSUs with no 80 Plus certification
- Brands with model names like “Xtreme MegaBoost 1200”
Always check real world reviews and teardown reports. Do not trust the label alone.
Step 6: Do not Forget Physical Fit
- ATX is standard, fits most cases
- SFX or SFX L is for compact builds, ITX cases
- Check case clearance, especially if it has a PSU shroud
- Measure cable reach if using a bottom mounted PSU with a tall case
Step 7: Common PSU Mistakes to Avoid
- Buying a no name 600 W PSU for a high end GPU
- Forgetting to check how many PCIe power connectors your GPU needs
- Not considering future upgrades, a new GPU may need more wattage
- Using a 5 year old PSU from an old system, internal components degrade
Bottom Line:
The power supply will not give you higher FPS, but it can kill your entire rig if it fails. Choose a reputable, efficient PSU with headroom and the right connectors for your build.
Step 8: Pick the Right Case, Airflow, Fit, and Style That Actually Works
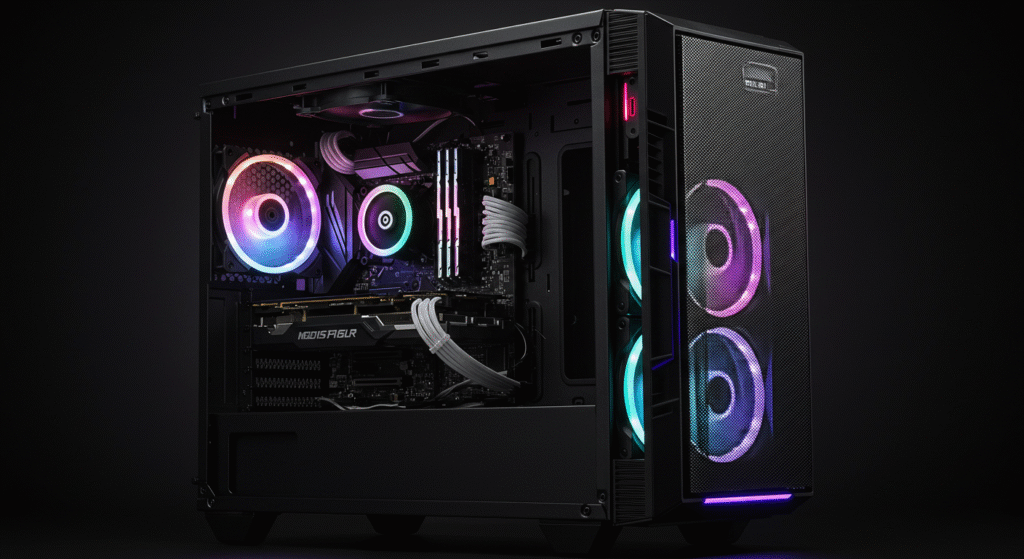
The case is more than a pretty shell. It dictates your cooling, cable management, and whether building your PC feels like assembling furniture blindfolded.
Choose a case that breathes, fits, and future proofs your setup.
Step 1: Know Your Case Size, Form Factor Matters
Your motherboard and GPU size will help decide your case.
| Case Size | Fits These Boards | Best For |
|---|---|---|
| Full Tower | ATX, E ATX | Extreme builds, water cooling |
| Mid Tower | ATX, mATX, ITX | Most gaming or creator builds |
| Mini Tower | mATX, ITX | Budget or compact builds |
| Small Form Factor, SFF | ITX only | Space saving, advanced users |
Tip: Mid towers are the safest, most flexible pick for most users.
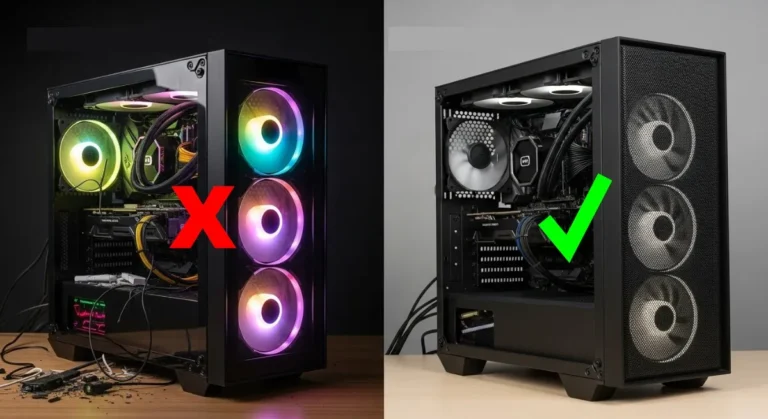
Step 2: Prioritize Airflow, Mesh Beats Glass
Airflow equals lower temps, quieter fans, better performance.
| Case Front | Airflow | Aesthetic |
|---|---|---|
| Mesh | ✅ Best | Clean, functional |
| Tempered Glass | ❌ Worst | Pretty, runs hotter |
| Hybrid, Mesh + Glass | 👍 Balanced | Style and performance |
Mesh front with built in fans is ideal. Bonus if the top has open vents too.
Step 3: Check Component Clearance
Before buying a case, check:
- GPU clearance, some triple fan GPUs are over 300 mm
- CPU cooler height, air coolers can be chunky
- PSU space if there is a shroud or tight basement
- Room for cable routing, good cases have 20 to 30 mm behind the tray
Tip: Manufacturers usually list this info in the spec sheet.
Step 4: Case Features That Actually Matter
Do not just go by looks. Check for:
- Pre installed fans, at least 2×120 mm
- Dust filters on front, top, and PSU intake
- Cable management options, grommets, tie downs, Velcro
- Tool less drive bays for easier upgrades
- Front I or O with USB C, if your motherboard supports it
Step 5: Looks Are Fine, Do not Sacrifice Function
RGB, tempered glass, vertical GPU mounts, all fine if airflow is not compromised. If the case looks like a spaceship but chokes your GPU, it is a no.
Step 6: Common Case Mistakes to Avoid
- Buying a case with no airflow
- Forgetting to check GPU or PSU fit
- Ignoring fan support, can it fit 140 mm, how many intake or exhaust
- No USB C on front panel, check your motherboard header too
- Not planning for future expansion, room for more drives or a bigger GPU later
Bottom Line:
Pick a case that fits your components, keeps your system cool, and does not make building a nightmare. Mesh airflow, space to build, decent pre installed fans, and clean cable routing make life easy.
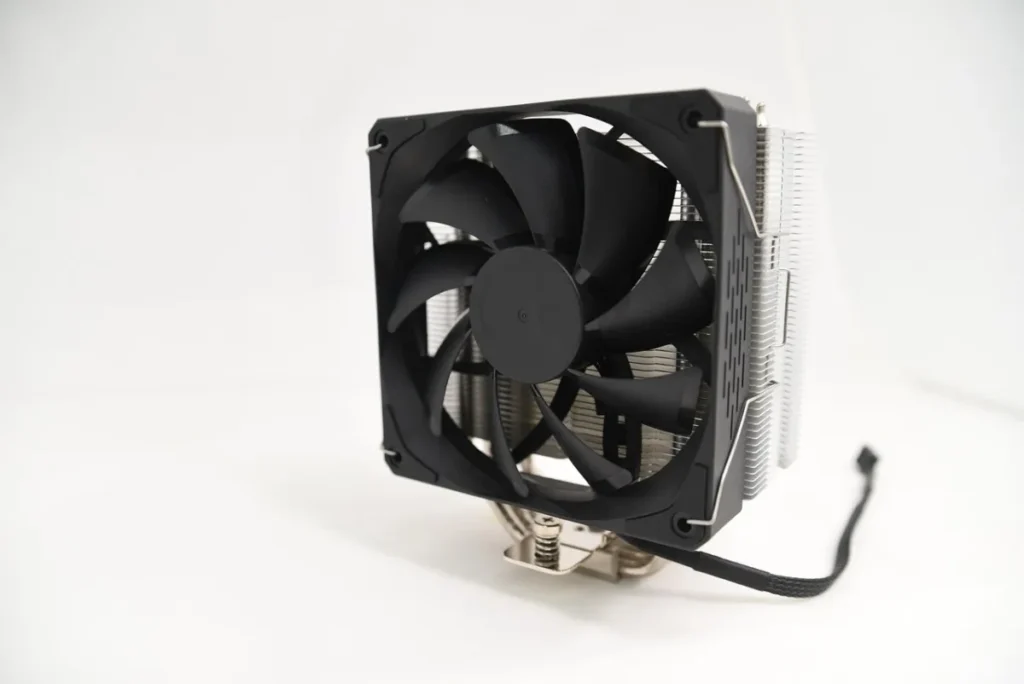
Step 9: Do not Forget the Peripherals, and Yes, Your CPU Cooler Matters
Building the tower is only half the story. If your keyboard feels like it was made from leftover bricks and your CPU is melting under a stock cooler, you will not enjoy using that dream rig. Let us fix that.
CPU Coolers, Yes, They Matter
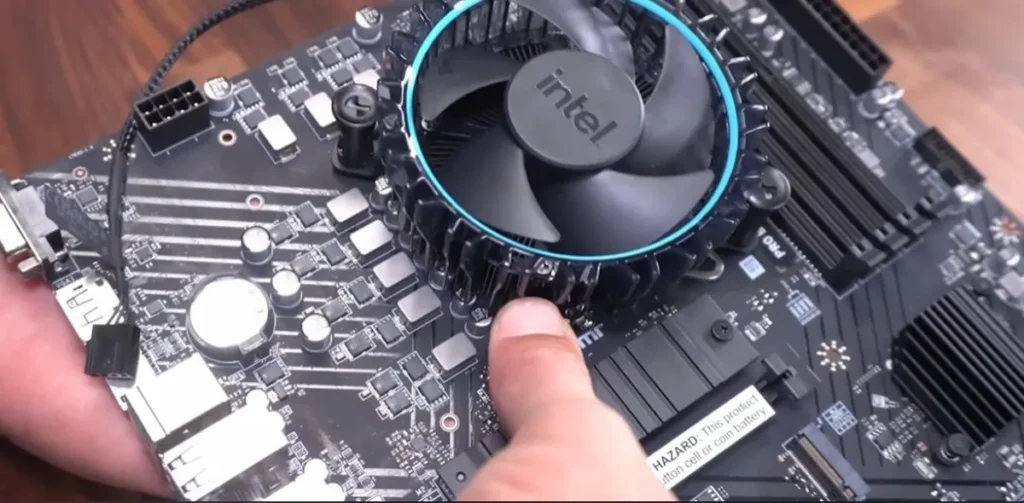
1. When You Can Use the Stock Cooler
- Ryzen 5 5600G, Ryzen 7 5700X, these come with Wraith coolers that are fine for everyday use
- Intel i3 or i5 non K CPUs come with serviceable air coolers
Tip: Stock coolers are okay for non overclocked builds, they get hot and loud under load.
2. When You Need an Aftermarket Cooler
- CPU does not come with one, for example Ryzen 5800X, Intel i7 or i9 K series
- You want lower temps and quieter performance
- You are overclocking, air or liquid is a must
| Type | Example | Use Case |
|---|---|---|
| Air Cooler | be quiet! Pure Rock 2, Noctua NH U12S | Quiet, reliable, budget friendly |
| AIO Liquid Cooler | Corsair H100i, Arctic Liquid Freezer II | Better thermals, cleaner look, more maintenance |
Tip: If your case has poor airflow, a better cooler is not optional, it is survival.
Peripherals, The Stuff You Actually Touch
1. Keyboard & Mouse

- Go mechanical if you type a lot or game competitively
- Avoid no name brands with weird layouts or poor build quality
- Look for mouse DPI settings, sensor quality, and ergonomics
Tip: A good mouse and keyboard can last across multiple PC builds.
2. Monitor, Do not Bottle the Experience

Buying a good GPU and pairing it with a 60 Hz 720p monitor is a waste.
- 1080p 60 Hz, fine for office or budget builds
- 1080p 144 Hz, perfect for esports and fast paced games
- 1440p 144 Hz, best balance for high end gaming
- 4K 60 Hz or OLED, for content creation or cinematic gaming
Also check for panel type, response time, and G Sync or FreeSync support.
Once your build is up, sanity check frame pacing and temps with our safe performance testing workflow.
3. Headset or Speakers

- A quality gaming headset improves immersion and comms
- Look for comfort, mic clarity, and sound stage
- Consider USB DACs or onboard sound if you are picky about audio
4. Wi Fi and Bluetooth

Many motherboards still do not come with Wi Fi or Bluetooth, especially budget ATX boards.
- Add a PCIe Wi Fi card with antenna
- Or a USB Wi Fi adapter, less ideal for gaming
- For Bluetooth, USB dongles are cheap and work fine
Tip: Streaming, pairing a controller, or wireless headphones, you will want Bluetooth.
5. Surge Protection or UPS
- At minimum, use a surge protected power strip
- For sensitive builds or bad power areas, a UPS is a smart long term investment
Bottom Line:
Your PC performance is only as good as the cooling and gear supporting it. Do not overlook your CPU cooler. Do not cheap out on your monitor. Make sure your peripherals match the power of your build.
Step 10: Sanity Check, Plan Compatibility Before You Buy
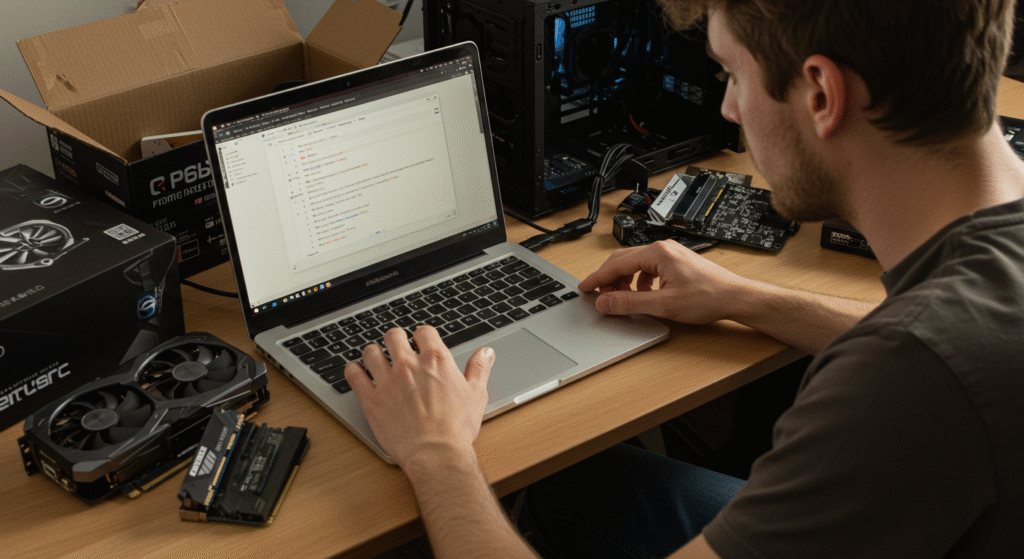
You have selected your CPU, motherboard, RAM, GPU, cooler, storage, PSU, and case. Before you hit checkout and summon the cardboard gods of delivery, do a full compatibility check.
Nothing is worse than discovering your new cooler blocks your RAM or your case cannot fit that triple fan GPU.
Step 1: Use PCPartPicker, or Equivalent
PCPartPicker is your new best friend. It will:
- Warn you about socket mismatches
- Flag clearance issues between case, GPU, cooler
- Check PSU wattage
- Suggest compatible RAM speeds
- Save your build list to review and tweak
Tip: You can switch to local versions for pricing in your region, UK, EU, Australia, Canada, and more.
Step 2: Double Check These Key Compatibility Areas
CPU + Motherboard
- Socket must match, AM5, LGA1700, etc
- BIOS version supports the CPU, especially with older boards
- Chipset supports the features you want, for example overclocking
Motherboard + RAM
- Supports your chosen RAM speed, for example 3200 or DDR5 6000
- Number of slots and dual channel support
- Enough clearance if you are using a large air cooler
CPU Cooler + Case
- Cooler height fits within your case
- Does not block tall RAM sticks
- Includes mounting hardware for your socket
GPU + Case + PSU
- GPU length fits inside your case
- PSU has enough power and the right connectors
- Case airflow is adequate, front mesh, fans included
Storage + Motherboard
- M.2 slots available and support PCIe gen speed
- SATA ports if using older drives
- BIOS supports booting from NVMe SSDs, most do
PSU + Everything Else
- Wattage is enough with 20 to 30 percent headroom
- Connectors for GPU, CPU 4+4 pin, SATA, and motherboard
- Cables are long enough to route cleanly
Step 3: Do not Skip These Final Checks
- OS License: Windows 10 or 11 license ready? Or planning Linux?
- Screwdriver: Magnetic tip helps avoid swearing
- Thermal Paste: Some coolers come pre applied. If not, you need a pea sized drop
- Monitor Cables: Make sure you have the right ones, DisplayPort or HDMI
- Flash Drive: To install your OS and motherboard BIOS updates
Step 4: Save and Share Your Build
- Save your PCPartPicker build
- Screenshot or export it for future upgrades or help requests
- Share it with a tech friend or community for a second opinion
You are Ready to Build!
If you’ve made it through all 10 steps, congrats, you’re no longer just “buying parts.” You’re engineering a custom PC that fits your needs, budget, and style. Whether it’s for gaming, content creation, or just reclaiming your digital independence, this machine is yours — and built right. Once it’s up and running, here’s how to test your gaming PC’s performance safely.
Added Bonus:
Before locking in your final parts list, run it through PCPartPicker to catch any compatibility issues and check power requirements. Even if all your parts technically fit together, sloppy planning during a GPU swap can wreck performance. Already picked your parts? Don’t miss PC Part Compatibility Mistakes Everyone Still Makes — a checklist of the gotchas that still ruin builds in 2025., and how to dodge them before you hit the power button.
Extra Bonus: For a real-world example, check out our ultra-budget 2025 build that balances performance with price.
And
For users still deciding between processors:
“Still comparing CPUs? Use these official tools to see detailed specs, features, and power usage:”
• Intel Product Specifications Comparison Tool
• AMD Processor Product Selector