Article updated on 04/01/2026 – Added new Info and safety sections
Let me guess. You downloaded MSI Afterburner, googled how to use MSI Afterburner, stared at the interface for about 12 seconds, then quietly closed it like it personally offended you. I’ve been there. It looks like a cockpit from a late-90s flight sim, but once you understand it, this thing becomes indispensable.
This guide shows you exactly how to use MSI Afterburner in 2026 for overclocking, undervolting, fan control, and in-game monitoring, without turning your GPU into a space heater. No risky nonsense, no placebo tweaks. Just what actually works.
So What Is MSI Afterburner, and Why Do You Still Need It?
MSI Afterburner is a free GPU tuning and monitoring tool that works on almost every modern graphics card, NVIDIA and AMD included, even if the card is not made by MSI. In 2026, it remains the go-to tool for adjusting clocks, managing fan curves, undervolting hot GPUs, and displaying real-time performance stats while gaming.
If you already use HWiNFO or other monitoring tools, Afterburner pairs perfectly with them. Afterburner controls and overlays, HWiNFO validates everything under the hood.
Before You Click Anything: What MSI Afterburner Can’t Do
- It will not turn an old GPU into a modern one.
- It will not fix bad airflow, dried thermal paste, or a failing PSU.
- It does not work on CPUs. That question still comes up somehow.
Used correctly, Afterburner is safe and powerful. Used blindly, it causes crashes, throttling, and unnecessary heat. The difference is understanding what each slider actually does. If your FPS and frametimes look stable in monitoring tools but matches still feel delayed, check your connection quality. These low latency Wi-Fi adapter picks can help stabilize online play.
Step 1 – Download It From the Right Place

Only download MSI Afterburner from the official MSI site: MSI Afterburner Download. It installs alongside RivaTuner Statistics Server (RTSS), which handles the in-game FPS and temperature overlay.
Avoid third-party mirrors. If a tool has system-level access, it deserves a clean source.
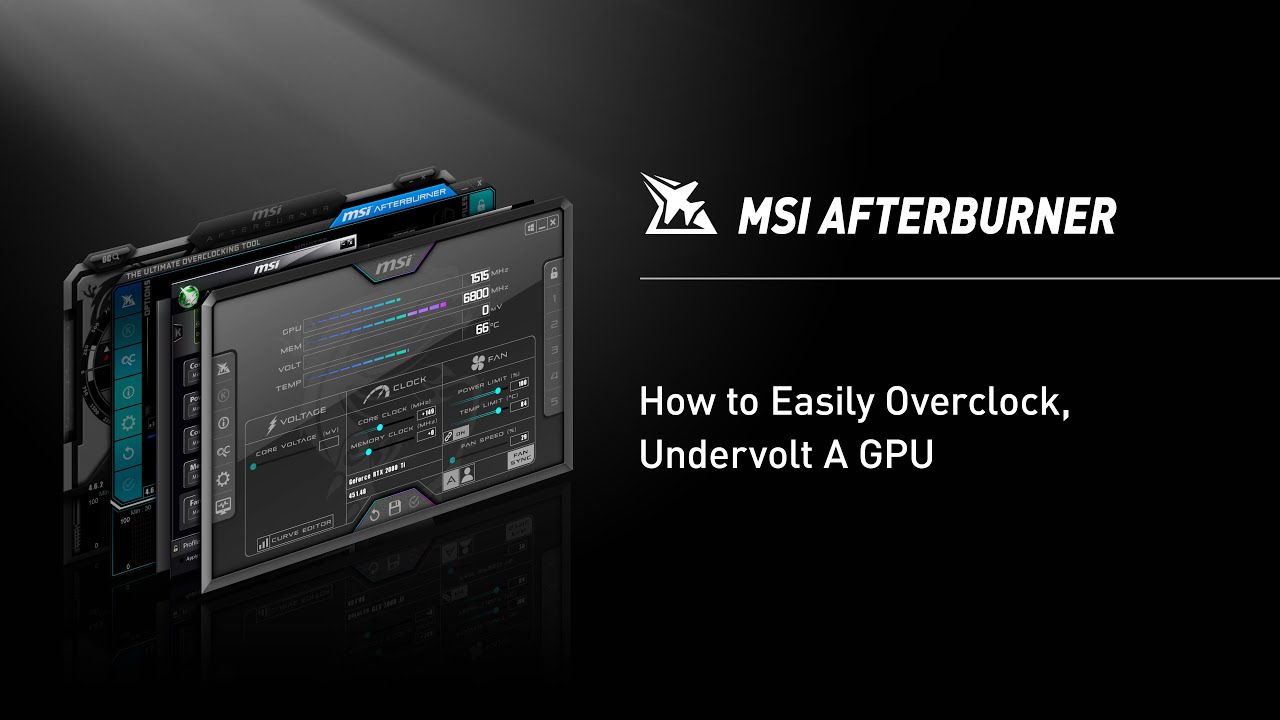
Step 2 – Learn the Interface Before Touching Sliders

The interface looks dated, but every control matters. Focus on these first:
- Core Clock (MHz): GPU processing speed
- Memory Clock (MHz): VRAM speed
- Power Limit: How much power the GPU is allowed to draw
- Temp Limit: The thermal ceiling before throttling
- Fan Speed: Automatic or custom cooling
- Voltage Control: Advanced territory, optional
On newer GPUs, especially RTX 40-series and RDNA 3+, power limits matter more than raw clocks. Keep that in mind. Seeing the numbers is one thing, understanding them is another. This guide explains how to tell if your CPU or GPU is the problem: CPU vs GPU usage explained.
Step 3 – Safe Overclocking Basics (Still the Same Rules)
The rule has not changed in 2026. Start small.
Increase Core Clock by 50 to 100 MHz, test in a real game, then move up gradually. Do the same for Memory Clock. If you crash, artifact, or stutter, dial it back by 25 MHz.
Stress test using a demanding game or a benchmark like 3DMark. Watch temperatures closely. Sustained temps above 85°C are still a warning sign, even on modern cards. This kind of monitoring becomes especially useful when preparing for large releases, see our GTA VI PC performance guide for a practical readiness example.
Step 4 – Undervolting: The Smart 2026 Move
Undervolting is now more popular than raw overclocking, for good reason. You reduce voltage while keeping performance intact, which lowers heat, noise, and power draw. Ifr you need some advice on how to undervolt you GPU Read Our Guide Here – The Real Reason Your GPU Runs Hot — And How Undervolting Fixes It
Press Ctrl + F to open the Voltage and Frequency Curve Editor. Identify your GPU’s stable boost clock, then lower the voltage at that frequency. Example: a card boosting to 1900 MHz at 1.1v often runs perfectly fine at 0.95 to 0.98v.
If you want deeper validation, pair this with our HWiNFO setup guide to confirm actual voltage behavior under load.
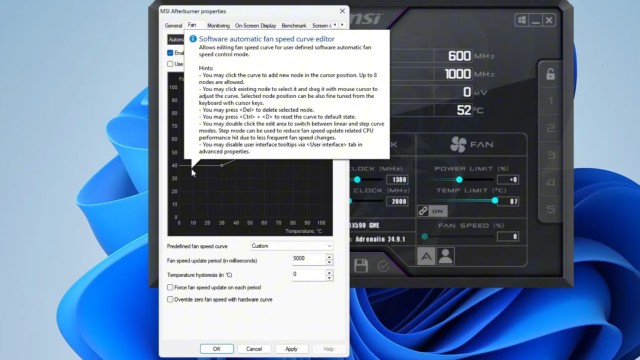
Step 5 – Build a Fan Curve That Doesn’t Sound Like a Drone
Open settings, go to the Fan tab, and enable user-defined automatic fan control. A balanced curve looks like this:
- 30 to 40°C: 20 percent
- 65 to 75°C: 50 to 65 percent
- 80°C and up: 80 percent or higher
Smooth transitions matter. Sudden jumps create noise and wear fans faster.
A word on Cpu’s: MSI Afterburner can help you spot CPU limits, but if you’re planning to replace your chip, Buying a Used CPU for Gaming keeps you from buying a “deal” that’s actually a dud.
Step 6 – Enable the On-Screen Display and Actually Use It

Go to Settings, Monitoring tab, select the stats you want, then enable “Show in On-Screen Display.” Make sure RTSS is running in the background.
If the overlay does not appear, run both tools as admin and confirm RTSS is not blocked by your firewall.
Save Profiles, Avoid Startup Regret
Once stable, save your settings to a profile slot. Only enable auto-apply at startup after several hours of crash-free gaming. Bootloop roulette is still a thing. For cleaner benchmark runs, make sure your games are installed on solid storage, not a slow drive. Here’s how to choose an external drive that keeps installs and loads consistent: Best external SSDs for gaming.
How to Use MSI Afterburner And Common Myths That Refuse to Die
- More voltage equals more performance. Usually false.
- Undervolting is risky. It is safer than overvolting.
- Afterburner does not work on AMD. It does, driver limits aside.
Test your own system. Reddit comments are not benchmarks.
A Practical MSI Afterburner Setup
- Core Clock: +75 to +100 MHz
- Memory Clock: +200 MHz if stable
- Undervolt: 0.95 to 0.98v at boost clock
- Fan Curve: Custom and smooth
- OSD: FPS, temps, GPU usage
Why MSI Afterburner Is Still Worth Learning
MSI Afterburner may look old, but in 2026 it is still the most reliable free GPU tuning tool available. It teaches you how your hardware actually behaves, not how marketing claims it should behave. MSI Afterburner is easier to use when you first understand why your PC still feels slow after an upgrade and how frame time and usage connect.
For deeper system checks, follow this with our Fix-Your-Damn-PC Toolkit or our monitoring guides for long-term sanity checks.


