Updated 29/04/2026
Short version: this is your complete game mods guide. We’ll show you where to download mods safely, how to install them without breaking your game, and how to keep your FPS stable while doing it. If you can install a game, you can mod a game, you just need to do it the right way.
Quick Answer: How to Mod Games Without Breaking Them
If you just want the fast version, here’s exactly what works for most PC gamers:
- Best mod sites: Nexus Mods, Steam Workshop, CurseForge, Modrinth
- Best mod manager: Vortex (easy) or Mod Organizer 2 (advanced)
- Golden rule: Install a few mods at a time and test
- Biggest mistake: ignoring dependencies and load order
- Performance tip: texture mods and shaders hit FPS the hardest
If you want the full breakdown, keep going. This game mods guide will walk you through everything properly.
What Are Game Mods?
Mods are user-made changes to a game. Some improve visuals, some fix problems the developers never touched, and some completely change how a game works. This is why modding has become a core part of PC gaming.
- Cosmetic: textures, lighting, UI changes
- Quality of life: inventory fixes, UI upgrades, bug patches
- Gameplay: balance changes, new mechanics, AI tweaks
- Total conversions: entirely new experiences built on existing games
If you’re new to PC gaming, you can pair this with our guide to the best new PC games in 2025 to see which titles are worth modding in the first place.
Where To Download Mods Safely
Downloading mods from random sites is how people end up reinstalling Windows. Stick to trusted platforms that are moderated and widely used.
- Nexus Mods – largest mod library with strong moderation
- Steam Workshop – one-click installs and automatic updates
- CurseForge and Modrinth – ideal for Minecraft and modpacks
- Wabbajack – curated modlists that actually work together
Pro tip: Always check requirements and recent comments before installing anything. If something looks outdated or broken, it probably is. If things go wrong, use our mods keep crashing guide to fix conflicts and load order issues.
Choosing the Right Mod Manager
Manual installs might work at first, but they become a nightmare fast. A proper mod manager keeps everything organized and reversible.
- Vortex: best for beginners, simple and reliable
- Mod Organizer 2: best for Bethesda games and heavy modding
- CurseForge App: ideal for Minecraft modpacks
- Wabbajack: install full modlists without the headache
If you want a deeper comparison, read our full breakdown of Vortex vs Mod Organizer 2.
Quick Decision Guide
- Skyrim / Fallout / Starfield → MO2
- Minecraft → CurseForge / Modrinth
- General use → Vortex
Which one should you actually use?
- New to modding: Start with Vortex, it’s simple and hard to break
- Modding Bethesda games heavily: Use Mod Organizer 2
- Don’t want to troubleshoot: Use Wabbajack and install a curated list
Before You Install Any Mods

This step saves you hours later. Skip it, and you’ll regret it.
- Back up your save files
- Know your game install location
- Use mod profiles
- Install a few mods at a time
- Always read requirements
Start here: Back up your saves and install your mod manager first. Don’t skip this, it’s what separates a clean setup from a broken one.
Load Order and Script Extenders
This is where most beginners get stuck, but it’s actually simple once you understand it.
- Load order: determines which mod overrides another
- Script extenders: allow advanced mods to function
Essential tools:
- LOOT – automatic load order sorting
- SKSE – required for many Skyrim mods
- Fabric / Forge – Minecraft loaders
If your mods suddenly stop working after an update, it’s usually a version mismatch, not something you did wrong.
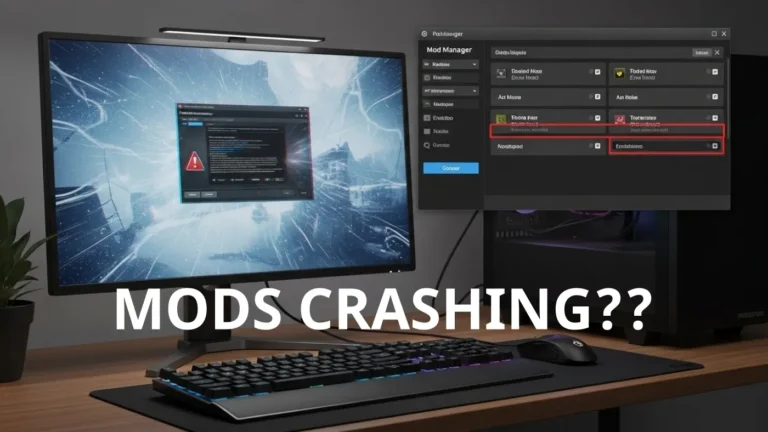
If your game suddenly crashes after adding mods, this is the first place to check. Load order and missing dependencies cause most issues.
Do Mods Kill Performance? (What Actually Happens)
This is where most people get burned, especially when they assume mods are “just visuals.” Mods can absolutely impact performance, and on low-end systems the difference can be night and day. High-resolution textures, lighting overhauls, and heavy scripts all add extra load to your CPU, GPU, and RAM. If you don’t understand what each mod is doing, it’s very easy to turn a smooth game into a stuttering mess without realizing why.

Here’s what actually happens on real PCs:
- GPU load: texture packs, ENB, and ReShade hit VRAM hard
- CPU load: AI mods and scripts increase frametime spikes
- RAM usage: large modlists can easily exceed 16GB
- Storage speed: slow drives cause stutter and pop-in
If your game starts stuttering after modding, don’t guess. Use a proper fix guide like your performance toolkit or stutter fix articles instead of trial and error.
If you’re planning upgrades, your future-proof PC build guide covers components that actually handle modded games properly.
If your FPS dropped after installing mods, don’t guess. Use a proper fix guide instead of randomly removing mods. Start with your mods crashing and stability guide and work from there.
Modding on Low-End PCs (What to Avoid)
If you’re on a weaker system, modding needs a bit more discipline. Not all mods are created equal, and some will destroy your performance instantly.
- Avoid 4K texture packs and heavy ENB presets
- Limit script-heavy mods that affect AI or world systems
- Stick to UI, bug fixes, and lightweight visual improvements
Safe starting point: UI mods, unofficial patches, and light texture upgrades. These give noticeable improvements without killing FPS.
Per-Game Quickstarts
Skyrim / Fallout / Starfield
- Install Mod Organizer 2
- Install LOOT
- Install SKSE
- Add small mods first, then expand
Cyberpunk 2077

- Enable REDmod
- Understand CET vs REDmod
- Expect breakage after patches
For update context, check our Cyberpunk 2077 patch guide.
Minecraft
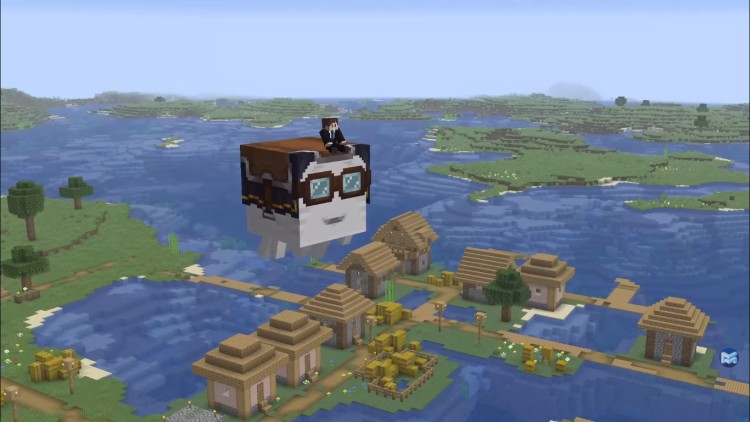
- Pick Fabric or Forge
- Match versions exactly
- Use CurseForge or Modrinth
Fixing Mods When They Break
Every modder breaks their game at some point, it’s part of the process. The difference is knowing how to recover quickly instead of reinstalling everything from scratch. Most problems come from bad load order, missing dependencies, or conflicting mods, and they can be fixed if you approach them methodically.
- Disable half your mods and test
- Check dependencies first
- Verify game files
- Re-run LOOT
- Use backup profiles
This process is faster than guessing, and it works every time.
When You Should NOT Mod Your Game
This is the part most guides won’t tell you. Modding isn’t always the right move, especially if your system is already struggling or you just want a smooth, no-hassle experience. Mods add complexity, extra load, and more points of failure, which can turn a stable game into a frustrating mess. If you’re not prepared to troubleshoot issues or manage performance trade-offs, sticking to vanilla can actually save you time and headaches
- Low-end PCs: if you’re already struggling for FPS, mods can make it worse
- Online games: you risk bans even with harmless mods
- No patience: modding requires testing and fixing
If you just want to play without issues, staying vanilla is sometimes the smarter move. If this sounds like you, stay vanilla for now. You can always come back to modding later once your system or patience level improves.
Recommended Starter Mods
If you’re new, start small. These give the biggest impact with minimal risk:
- Unofficial patches
- UI improvements
- Light texture upgrades
- Audio enhancements
Once stable, then move into bigger overhaul mods.
The FAQ’s
Are mods safe? Yes, if you use trusted sites and scan files.
Do mods reduce FPS? Some do, especially graphics mods.
Can mods break games? Yes, but they’re fixable with proper setup.
Will mods get me banned? Only in online games where they are not allowed.
Final Thoughts
This game mods guide is built to keep things simple, safe, and effective. Modding isn’t just about making games look better, it’s about making them yours.
Start small, test often, and don’t ignore performance. That’s the difference between a smooth modded setup and a broken mess. Once you get comfortable, you’ll never go back to vanilla.
Not sure where to start? If you’re completely new, install Vortex and use Nexus Mods. If you’re on a low-end PC, avoid heavy graphics mods for now. If you want a “just works” setup, use Wabbajack and skip manual installs.
Your next step: Pick one game, install a mod manager, and add 2–3 safe mods. Test, learn, and build from there. That’s how every solid modded setup starts.