Article updated: November 6, 2025. Content refined for better performance tweaks and accuracy.
Let’s be honest, Windows might be your gaming platform, but it’s definitely not your friend out of the box. A clean install looks innocent enough, until you realize it’s hiding background clutter, power-throttling nonsense, and system “features” you never asked for.
If you want your new build (or freshly reset rig) to actually perform like a gaming PC, here are the 10 Windows settings to disable for gaming that I always nuke first. No registry magic, no clickbait hacks, just real tweaks that stop stutters, lag, and input delay before they ruin your session.
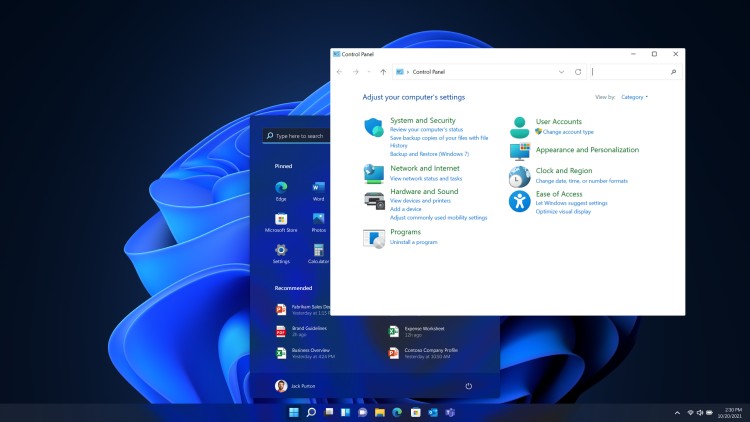
Before We Start: Here’s where to find “Settings” in Windows 10 & 11.
Option 1: Start Menu
- Click the Start button
- Select the gear icon for Settings
(In Windows 11, it might just say “Settings” directly)
Option 2: Keyboard Shortcut
- Press Windows Key + I
- This instantly opens the Settings app on both Windows 10 and 11
Option 3: Search Bar
Type “Settings” and press Enter
Click the Search (magnifying glass) on the taskbar
OK! Here Are The 10 Windows settings to disable for gaming
1. Disable Game Mode (Yes, Really)
Microsoft’s Game Mode is supposed to help… but in reality? It can throttle background services too much, leading to crashes or frame pacing issues especially if you’re running things like Discord or monitoring tools in the background.
How: Settings > Gaming > Game Mode > Toggle it off.
2. Kill Xbox Game Bar and All Its Tentacles
Xbox Game Bar is like that overlay you never wanted. Even if you never use it, it lurks. It records, it monitors, it eats resources. Worst of all, it can mess with fullscreen games and cause alt-tab lag.
How: Settings > Gaming > Xbox Game Bar > Turn everything off.
3. Turn Off Background Apps
Windows keeps a parade of useless apps running in the background, Weather, Mail, Calendar, even Solitaire. They have no business leeching RAM or pinging your CPU during gaming sessions. If you suspect bloatware, get rid of it here: Disable Bloatware On Windows
How: Settings > Privacy & Security > Background Apps > Disable unnecessary apps.
4. Shut Down VBS (Virtualization-Based Security)

VBS is great if you’re running sensitive enterprise tasks. For gaming? It’s a frame killer. I’ve seen 5–20% drops in GPU performance with it enabled, especially on mid-range hardware.
How: Windows Security > Device Security > Core Isolation > Turn off Memory Integrity.
Where to Find Windows Security Settings
To tweak settings like Core Isolation or check for Virtualization-Based Security (VBS), you’ll need to open Windows Security. Here’s how:
- Option 1: Press Windows Key + S and type “Windows Security”, then hit Enter.
- Option 2: Go to Start > Settings > Privacy & Security > Windows Security.
- Then: Click Device Security to find Core Isolation and other relevant settings.
Note: Some options may be hidden depending on your hardware or if you’re running Windows in a virtual machine.
More on this from Intel’s gaming VBS explainer.
Before disabling system features, make sure your updates and drivers are not broken, this walkthrough explains how to fix Windows Update loops and driver failures safely.
5. Disable Fast Startup
This one’s sneaky. Fast Startup can make your system boot faster, but it can also cause driver load failures, sleep issues, and even BSODs after hardware changes.
How: Control Panel > Power Options > Choose what power buttons do > Change settings > Uncheck “Turn on fast startup.”
6. Use a Proper Power Plan
By default, Windows goes for “Balanced” — which throttles your CPU and GPU when it thinks you’re not doing much. That’s great for office work. For gaming? Absolutely not.
How: Settings > Power & Battery > Additional power settings > Choose High Performance or unlock Ultimate Performance via Command Prompt.
Where to Find Power Options
To stop Windows from throttling your system under the “Balanced” plan, you’ll want to change your power settings:
- Option 1: Press Windows Key + S and type “Edit power plan” or “Choose a power plan”, then open it.
- Option 2: Go to Control Panel > Hardware and Sound > Power Options.
- To unlock Ultimate Performance: Open Command Prompt (Admin) and run:
powercfg -duplicatescheme e9a42b02-d5df-448d-aa00-03f14749eb61
Once enabled, select Ultimate Performance from the list of power plans.
Need help monitoring the difference? Check out our guide to monitoring temps and clocks.
7. Disable Core Isolation (Memory Integrity)
This setting adds a layer of memory protection and a heap of input lag. It’s known to interfere with gaming mice, audio drivers, and frame timing.
How: Windows Security > Device Security > Core Isolation > Toggle off.
8. Silence Notifications with Focus Assist
Nothing’s worse than hitting a headshot and getting slapped by a “New mail” pop-up. Worse, some overlays force games to minimize when they show up. Rude.
How: Settings > System > Notifications > Focus Assist > Set to “Alarms Only.”
9. Pause Auto Updates During Active Hours
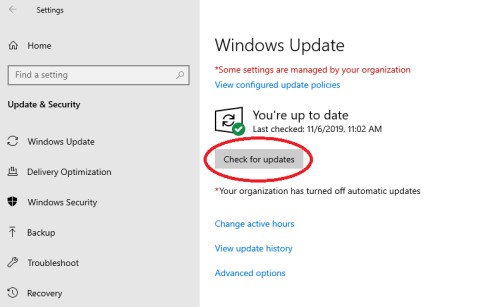
Windows updates are important, but not when you’re mid-raid. I’ve lost unsaved progress more than once thanks to this “feature.”
How: Settings > Windows Update > Pause updates or adjust active hours manually.
Still having lag or update issues? Try our guide: Windows 11 Running Slow? Fix It Here.
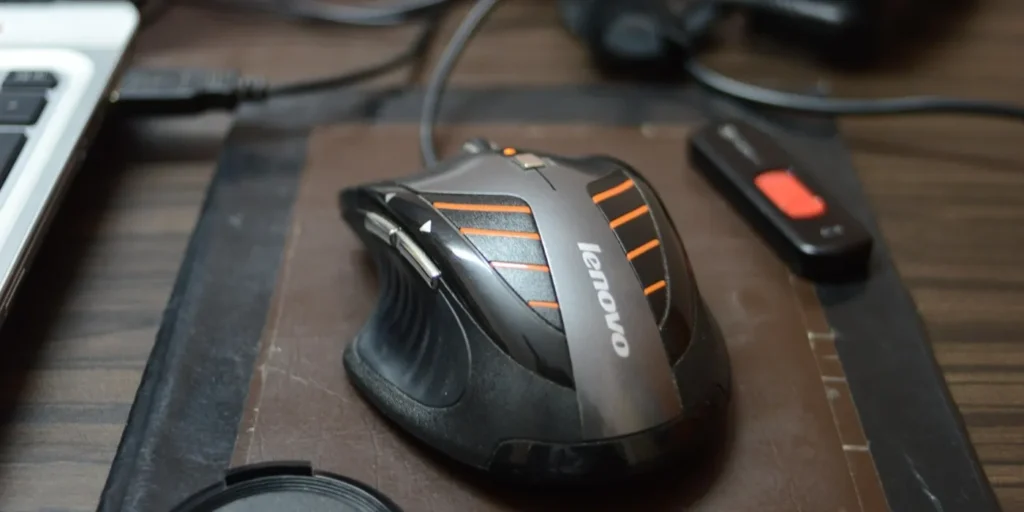
10. Turn Off Mouse Acceleration (Enhance Pointer Precision)
Classic sin. If you’re still gaming with this turned on, your aim is lying to you. Disable it, train your muscle memory, and never look back.
How: Control Panel > Mouse > Pointer Options > Uncheck “Enhance pointer precision.”
Where to Find Mouse Settings
To disable mouse acceleration (a.k.a. Enhance Pointer Precision), use these steps:
- Option 1: Press Windows Key + S and type “Mouse settings”, then click Additional mouse settings.
- Option 2: Go to Control Panel > Hardware and Sound > Mouse.
- Then: Navigate to the Pointer Options tab and uncheck “Enhance pointer precision”.
This ensures raw, consistent mouse input, especially important for FPS and competitive games.
It’s especially critical for FPS players. Don’t let Windows sabotage your flicks. If your game audio starts crackling or popping, it may be caused by Windows audio settings or background services. Our guide on fixing audio crackling in games covers the most effective solutions.
These Settings Are the Real Fix List(Promise)
You can waste hours chasing registry hacks and sketchy optimization tools or you can disable these 10 things and instantly fix 90% of what makes Windows bad for gaming. This is what I do on every new rig, and it’s saved me more rage quits than I can count.
Want more performance fixes? Check out:
- Fix High CPU Usage While Gaming
- How to Fix Windows 11 Lag
- Or give your upgraded rig a spin with our racing picks
Bonus: For more Windows fixes and performance tweaks, check out our full Windows 10 & 11 Problems and How to Fix Them guide.
And if none of this helps… maybe your Diablo 4 performance wasn’t meant to be. Good luck out there, Nephalem.