Forget data overload — here’s how to actually use the HWiNFO Setup Guide without losing your sanity. From useful sensors to settings that deserve to be buried, I’ve got you. If you haven’t already, you should probably start with our HWiNFO64 sanity check guide.
Why Bother With HWiNFO?
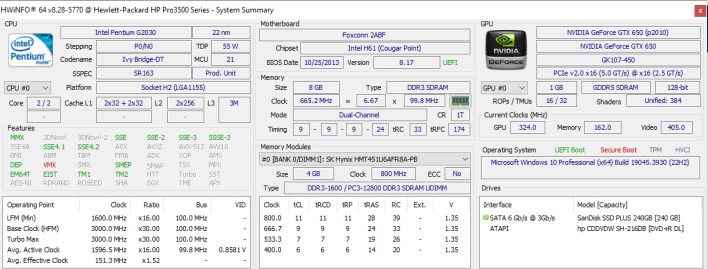
If you’ve ever watched your game stutter, crash, or catch fire (okay, not literally), and wondered, “Is my PC dying?”, Our HWiNFO Setup Guide is a great warning system. It’s free, lightweight, and shows you everything from CPU package temps to VRM voltages — and about 87 other things you’ll never care about. But that’s where this guide comes in: I’ll show you what matters, what doesn’t, and how to make it useful instead of overwhelming.
How to Install HWiNFO Without Breaking Your Brain
Head over to the official HWiNFO download page. Grab the 64-bit version (you’re not running XP in 2025, right?) and choose between the installer or portable version. I go portable because I like no-commitment relationships — even with software.
On launch, choose “Sensors-only”. The Summary is fine if you’re benchmarking, but we want the juicy real-time data. Skip the driver warning (unless you’re using fan control) and move on.
The Settings I Use (And Why You Should Too)
- Sensor-only mode: Just do it. The rest is noise.
- Polling Rate: Set it to 2 seconds. Anything faster is obsessive and unnecessary unless you’re troubleshooting micro-spikes.
- Minimize on startup: You don’t need HWiNFO flashing in your face every time you boot.
- Start with Windows: Only if you’re a power user or want it always running in the background.
- Tray icons: Choose up to 3 — I go with CPU temp, GPU temp, and CPU clock speed. The rest? Meh.
HWiNFO Setup Guide and What I Immediately Turn Off
Here’s the part you won’t see in most guides — the crap I disable instantly:
- “TMPIN” sensors: These mystery motherboard sensors usually mean nothing. TMPIN3? Might be your RAM. Might be the hamster running your PSU fan.
- VR Loop, VINx, VSOC: Unless you’re manually overclocking or undervolting, these are trivia — not telemetry.
- All SMART sensors: Disk temps are boring unless you’re paranoid about your SSD dying. They also slow down startup.
- “Current” readouts: Don’t worry — your CPU isn’t pulling 150A like a Tesla on Ludicrous mode. Turn these off unless you know what they mean (and if you did, you wouldn’t need this guide).
How to Actually Read the Damn Sensors
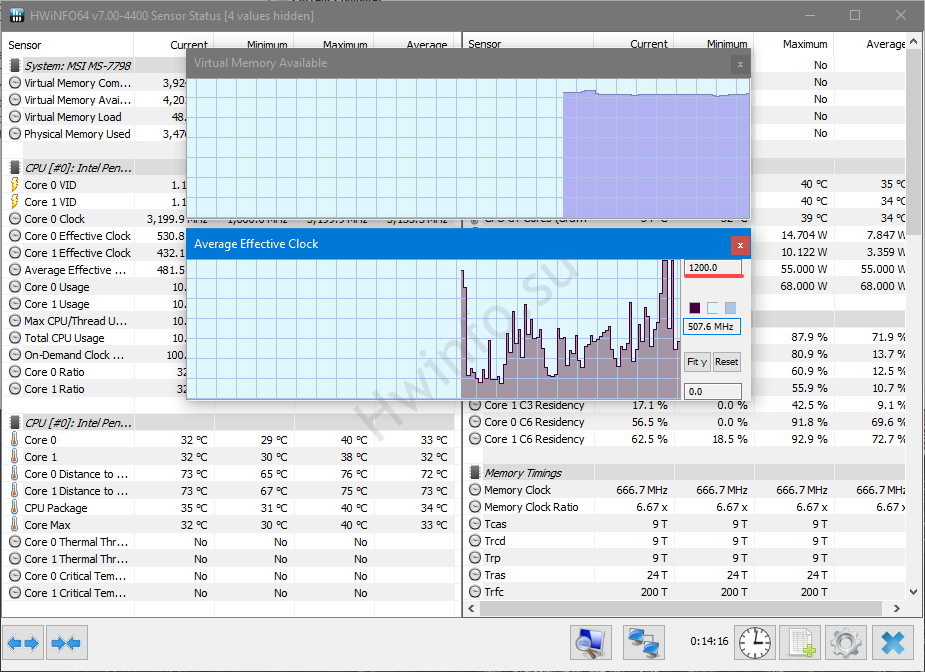
Now to the fun stuff in our HWiNFO Setup Guide: interpreting the madness:
- HWiNFO Setup Guide CPU Package Temp: This is your go-to. Idle should be 30–45°C, under load up to 85°C is normal (95°C max for Intel 13th gen/AMD 7000s).
- GPU Temp: 30–40°C idle, 70–80°C gaming is fine. Ignore “Hot Spot” unless it’s >110°C.
- CPU Clock (Effective): Don’t just look at boost clocks — see if you’re getting what was promised.
- Average vs Max: Use these columns to spot spikes vs sustained heat. If your average CPU temp is 55°C and max is 98°C? Something spiked — probably Chrome.
HWiNFO Setup Guide Overlay for Gaming (Optional, but Fun)
Want temps and clocks while gaming? You’ll need RTSS (it works with HWiNFO). Here’s the cheat sheet:
- Enable Shared Memory Support in HWiNFO.
- Install RTSS and link to your game’s executable.
- In RTSS, add overlays: CPU temp, GPU temp, FPS, frametime (optional).
- Keep it minimal — no one wants a spreadsheet in the corner of Valorant.
If you want an easier overlay experience, MSI Afterburner might be more your speed. But it doesn’t go as deep as HWiNFO.
When to Use Logging (And When Not To)
CSV logs in HWiNFO are great for post-mortems — not daily use. Turn on logging only when:
- You suspect thermal throttling or crashes and need data proof.
- You’re benchmarking for real (not fake YouTube clout).
- You want to visualize changes over time using Excel or charts.
Otherwise, logging just eats disk I/O and gives you 500MB of unread CSV files.
Final Checks: Is Your PC Healthy or Hosed?
Here’s my no-BS health checklist. For a deeper dive into how to track these metrics across all your software, check out our full monitoring guide.
| Sensor | Idle | Gaming | Panic Zone |
|---|---|---|---|
| CPU Temp | 30–45°C | 70–85°C | >95°C |
| GPU Temp | 35–45°C | 70–80°C | >90°C (Hot Spot >110°C) |
| VRM Temp | 40–60°C | 80–90°C | >95°C |
| Clocks | Idle = 800–1200 MHz | Boost = 4–5.5 GHz | Constant throttle or stuck low |
FAQs and WTFs About HWiNFO
Why are there 200 sensors? Because your motherboard and CPU are trying to show off. Most of them don’t matter.
What’s a normal CPU temp in HWiNFO? See above. TL;DR: Under 90°C while gaming = good. Over 100°C = throttle town.
What’s better: HWiNFO or HWMonitor? HWiNFO gives you more data. HWMonitor is simpler. If you’re reading this, you want control — so stick with HWiNFO.
Conclusion: HWiNFO is powerful — and overwhelming — if you don’t tame it. Now you’ve got a streamlined setup that shows you what matters and ignores what doesn’t. You’re welcome.


This Post Has One Comment
We absolutely love your blog and find most of your post’s to be what precisely
I’m looking for. Does one offer guest writers to write content available for you?
I wouldn’t mind creating a post or elaborating on many of the subjects you write related to here.
Again, awesome web log!